Recently, while picking something up at the craft store, I happened to see some cute stencils. While looking at them I thought Hey, I would love to try embroidering these!

I loved these fairy themed stencils. When I first saw them I was envisioning little sparkly SEED stitches coming from their tiny star wands. (To learn and practice the SEED STITCH with a free printable click HERE.) I grabbed a leftover piece of tie-dyed fabric. I thought the fairy theme would fit nicely on a sky colored background. (if you would like to see how to tie-dye fabrics I have post about it HERE.)

I taped my stencils onto the fabric with washi tape (Masking tape would be fine too.) so that they would not shift during painting and smudge the paint.
The way stenciling is taught, you choose a brush that is commensurate with the size of the stencil so a smaller round foam brush would be a better choice but I just use what I have. Put enough paint on the foam brush that it is not too wet but also not too dry, then gently dab the foam brush on the stencil. The color does not have to be even. In fact, it looks cool with some variation.

Above is an example of the foam brushes I used.
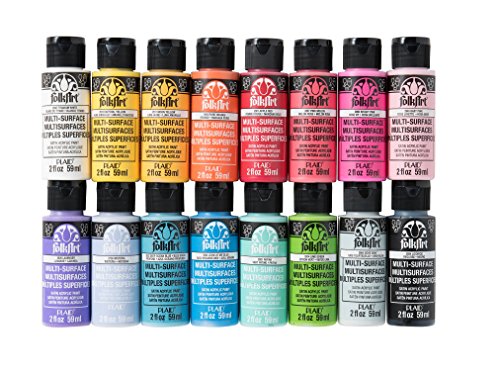
Above is the paint I used. There is also fabric paint available but these are what I had at home and they were great for this little project.
I love the wood grain and door knocker on this little fairy door.


Now the fun part! Pick some thread colors and stitch away! I did some straight stitches, BACKSTITCH and FRENCH KNOTS in a sparkly creme (I am CRAZY about DMC etoile thread!) and pale pink for this fairy. Click on any of the stitches to see a “how-to” blog post. Some even have free print-ables for practicing on.
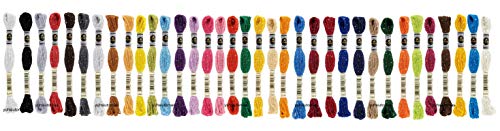
I am SERIOUSLY in love with these sparkly threads! They are soft and easy to use and have just the right amount of glimmer. I use them ALL THE TIME and have re-ordered several times I am such a fan. I especially like the cream, white and pale pink color. Just lovely.

I went for a nice bold red SATIN STITCH for these mushrooms.

I used long brown BACKSTITCH to emulate the wood grain.

I jumped back and finished the fairies. I added a few beads. I may go back and add more seed stitches.

I finished the mushrooms by adding SATIN STITCH to complete the stems.

I added some single threads of yellow to create the wood frame look. I loved adding the grass at the bottom and little wildflowers and completing the look with a shiny door knocker.
It was really fun to just improvise these. Not sure what I will make with these. Maybe some EMBROIDERED PATCHES, or use them as APPLIQUÉ on another project like a tiny lampshade (next post) or maybe turn them into EMBROIDERED PINS.
Thanks so much for stopping by!
Warmly,
Pam