I got intrigued with the idea of recreating record albums in embroidery. I really have such fond feelings and sentimentality surrounding good old fashioned record albums. Both the music and the cover art bring back great memories about different times in my life. If you ever been listening to a song and you are instantly transported to a certain time in your life then you know exactly what I mean! Being a visual person, the cover art of albums has the same effect. I decided it might be fun to bring some old albums to life by embroidering them. I chose albums that looked easy and interesting to embroider. Eventually I got lost in all the cool cover art and chose some just for the art’s sake, even if I didn’t recognize them.

For the first album I went with a real classic. The Police’s Ghost in the Machine looked like a nice one to start off with. I traced the shape onto some Sticky stabilizer. (You can use a bright window or light box to do this or you could just print from your computer directly onto the stabilizer.)

Above is an example of sticky stabilizer I use. If you get these sheets, you can just print the design right onto the sheet from your home printer but often I will just trace if it is a simple design.

I tried to find images that were simple yet striking and recognizable, like this one. The Print-Stitch-Dissolve is really great for darker fabrics that you can’t trace on.


I love the bright colors on top of black. The spots I didn’t embroider will be black when the stabilizer is washed off which you will see below.

When I started making these I was not sure what to do with them but I decided they would make really cool patches. The great thing about patches is you can put them anywhere! A gym bag, a denim jacket, jeans, a shirt, a purse or whatever! I can make them and decide later. Often an idea pops up organically. Patches are a cool way to use your experimental embroidery.

I bought a pack of denim patches that came in a couple of different sizes and colors.

Something like the above patches. On one side is the denim and on the other side is the adhesive. The idea is to affix the embroidery to the denim side of the patch, then when you are ready you can iron your patch where ever you want. Another thing I like about these is that they can be trimmed to what ever size/shape that you want.
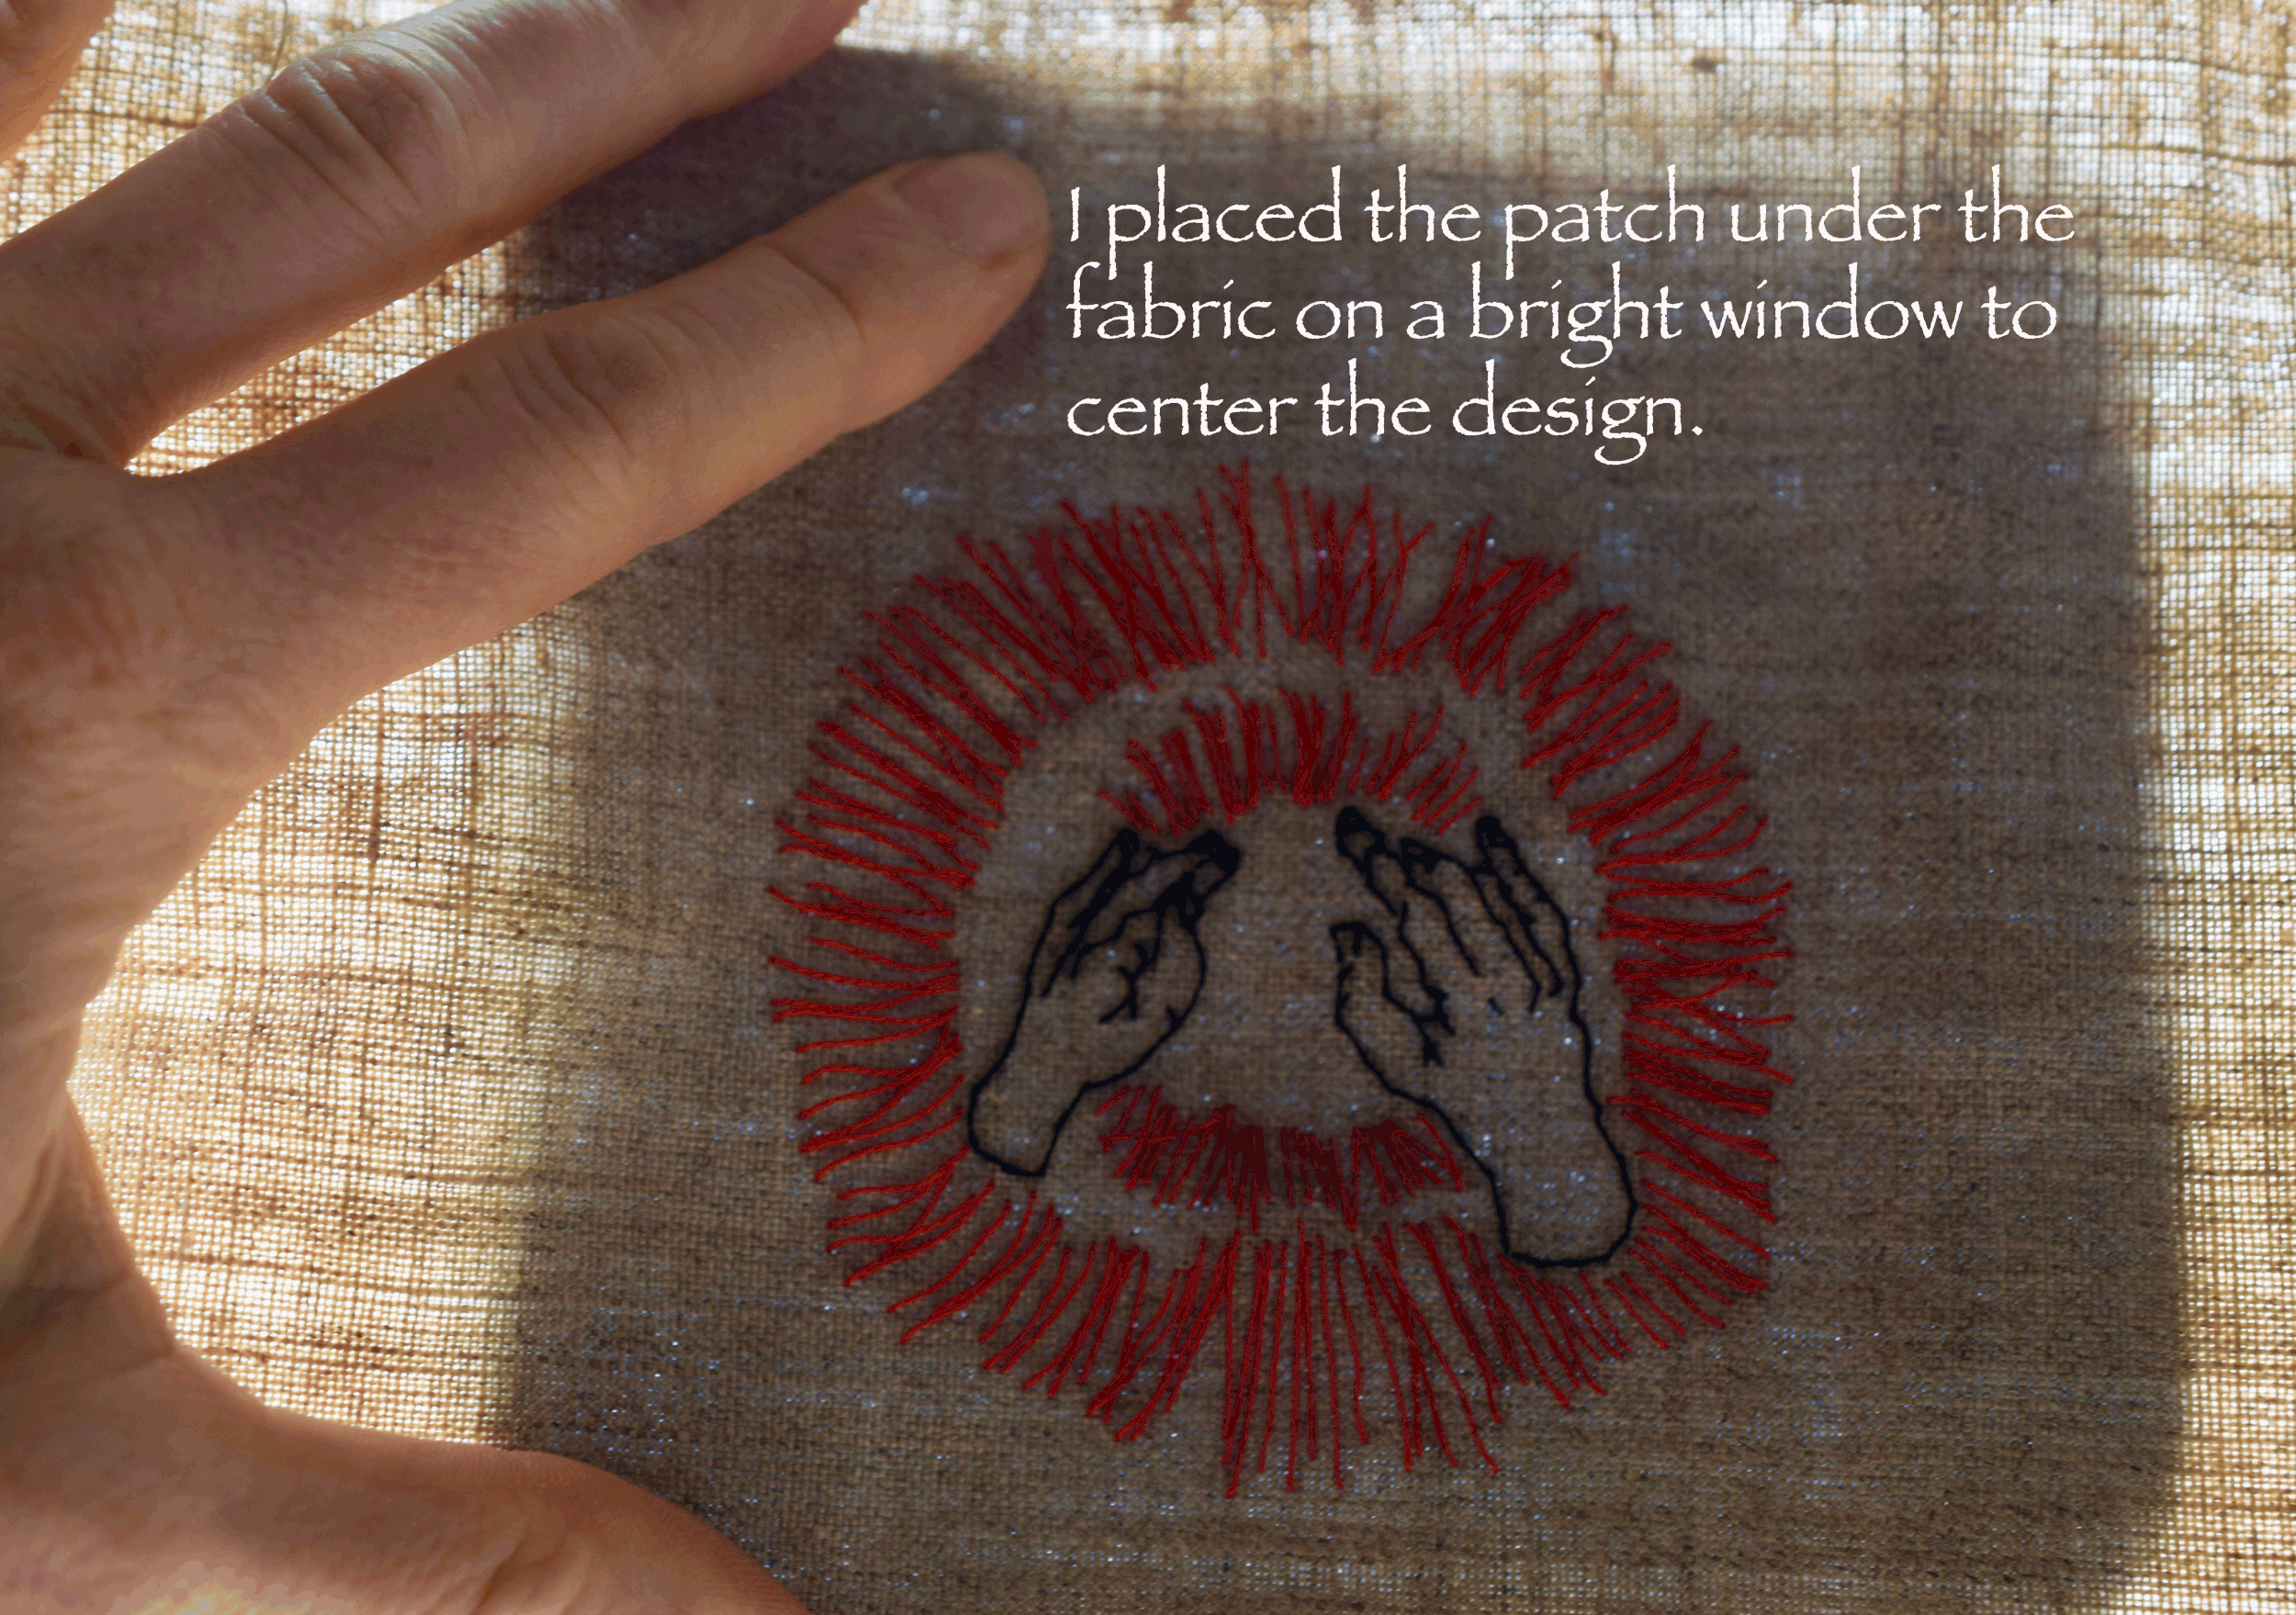
Here is my very technical method of centering my design.

After centering the design, I flipped the whole thing over and using a mechanical pencil, traced around the patch on the back of the fabric with the design which was my cutting guideline.


I decided to use permanent fabric glue to attach the embroidered piece to the patch. I used an old paintbrush to apply a thin layer of glue to the patch. This is permanent glue that dries clear.

This is the glue I had at home.


Apply glue into those gaps around the edges.


I placed my designs on top of the patch and cut around them. I thought, after the fact, that it would be a great idea to glue them first, then trim around them.


Patches, ready to be applied!


So much FUN!
Thanks for stopping by!
Warmly,
Pam