After finding a needle sticking out of my son's heel, I decided it was time to find a better needle storage system. I am often doing multiple things at once and as soon as I put my needle down on the table, the slightest breeze can make it roll right off the table and onto the floor. Today I would like to show you two easy DIY needle storage ideas. One is a no-sew travel case and the other involves just some simple straight sewing.
Before I delve into these projects there is one thing you can do that does not involve any work. Just grab a simple fridge magnet and keep it near your work space. You needle will stick right to the magnet. Super simple.
These next two projects are pretty darn easy, though. Let's get started with the no-sew first. You just need a couple of things to get started:
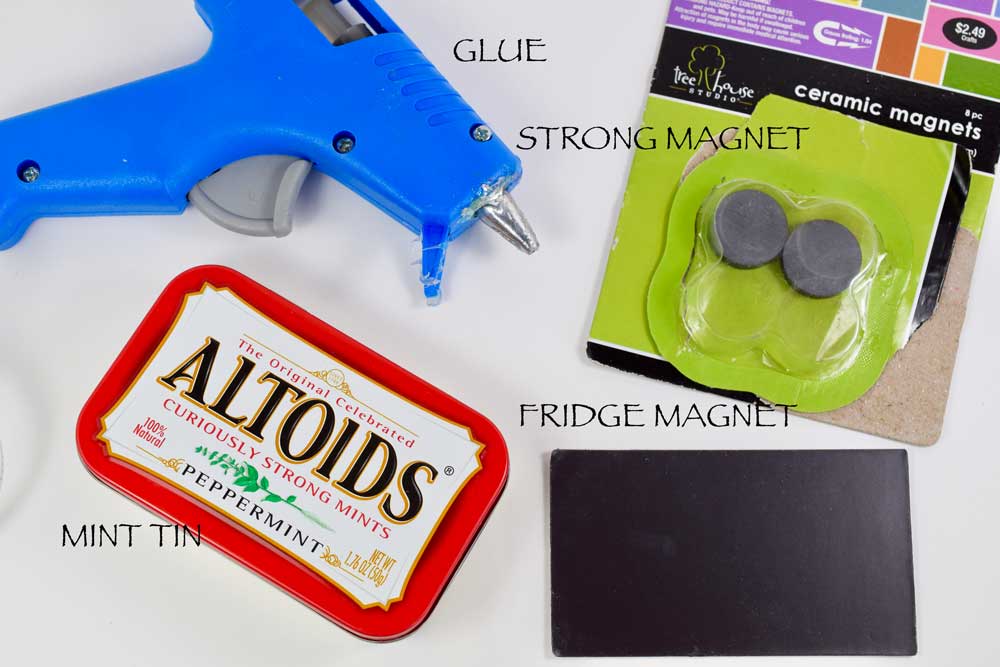
You will need an rectangular tin such as an old Altoids or mint tin, a rectangular fridge magnet (like the kind you get from mailers and advertisements.), glue (A glue gun is perfect but any glue that will adhere the magnet to the metal is fine.), and a magnet strong enough to hold the scissors (I used a round ceramic magnet.)

Glue the side of the magnet with the image on it to the inside top lid of the tin.
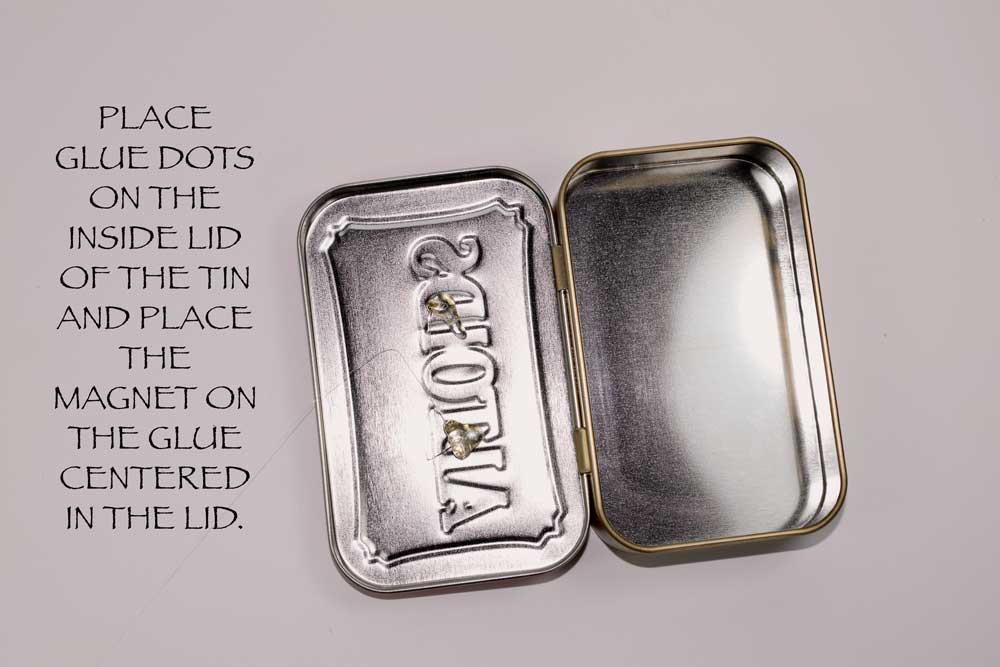
It only takes a couple of drops of glue. The magnet is very lightweight. Once you place the magnet, give it a few minutes to dry.

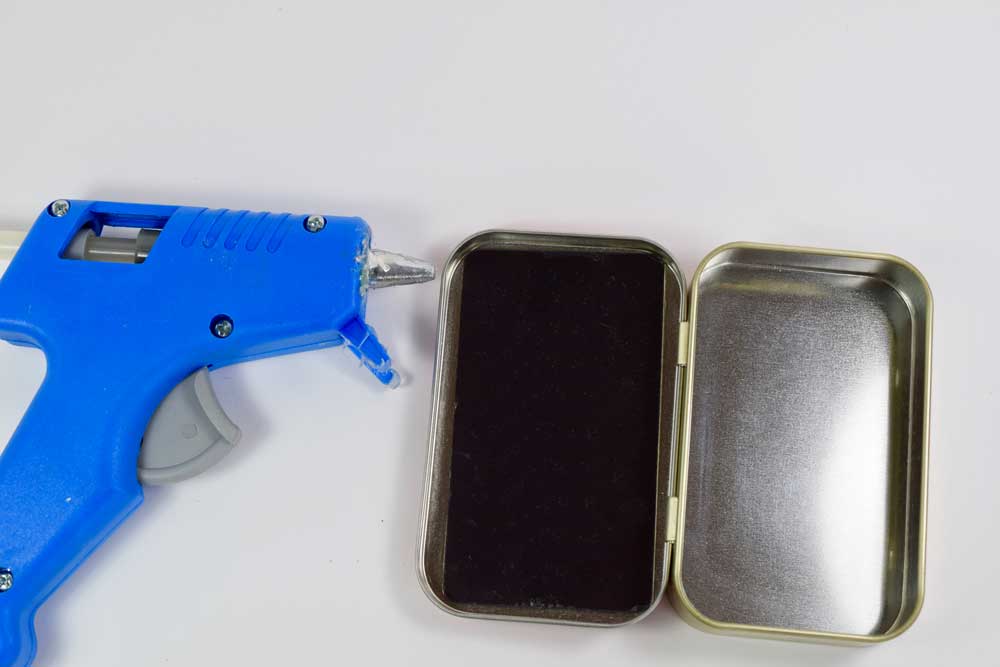
Place the strong magnet on the other side of the tin for your scissors but don't glue it yet.
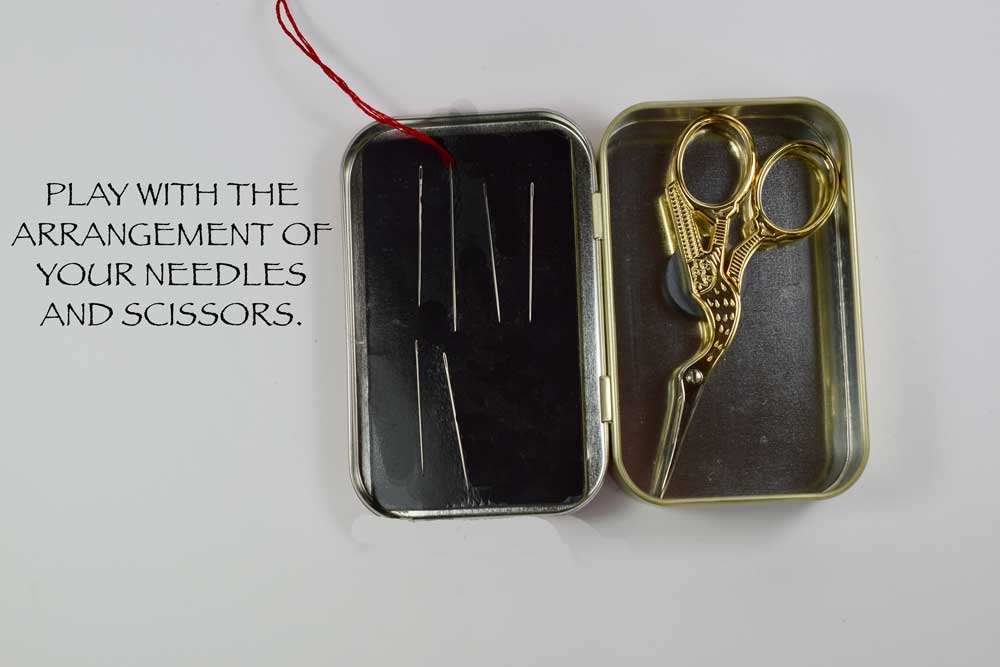
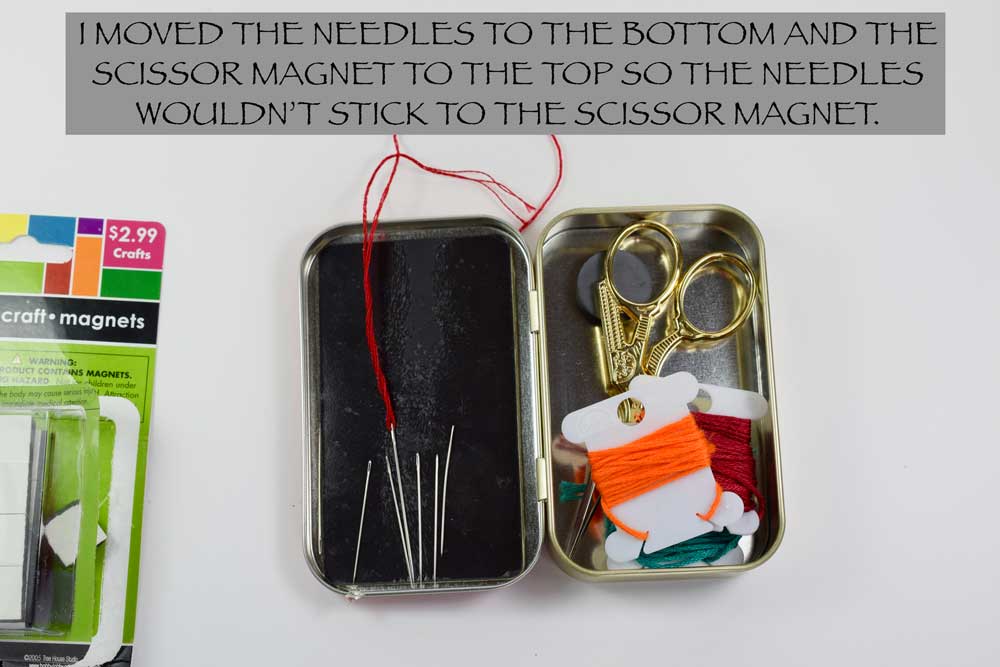
Once you add your scissors and needle, try opening and closing the tin. I noticed that my needles were sticking to my scissor magnet so I just moved them around a little.
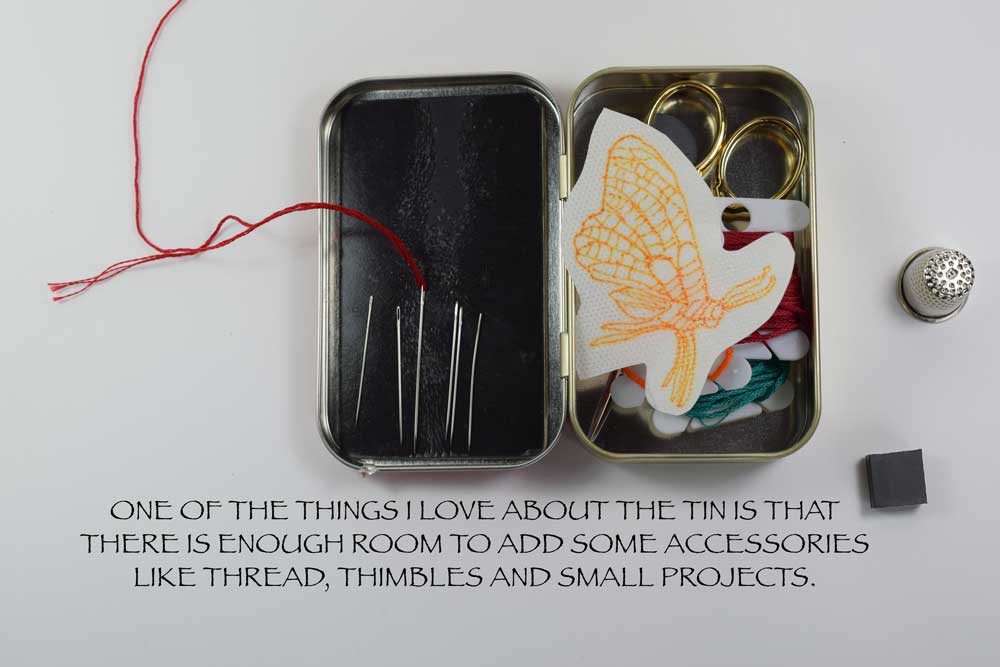
If you would like some ideas for small projects, click HERE.

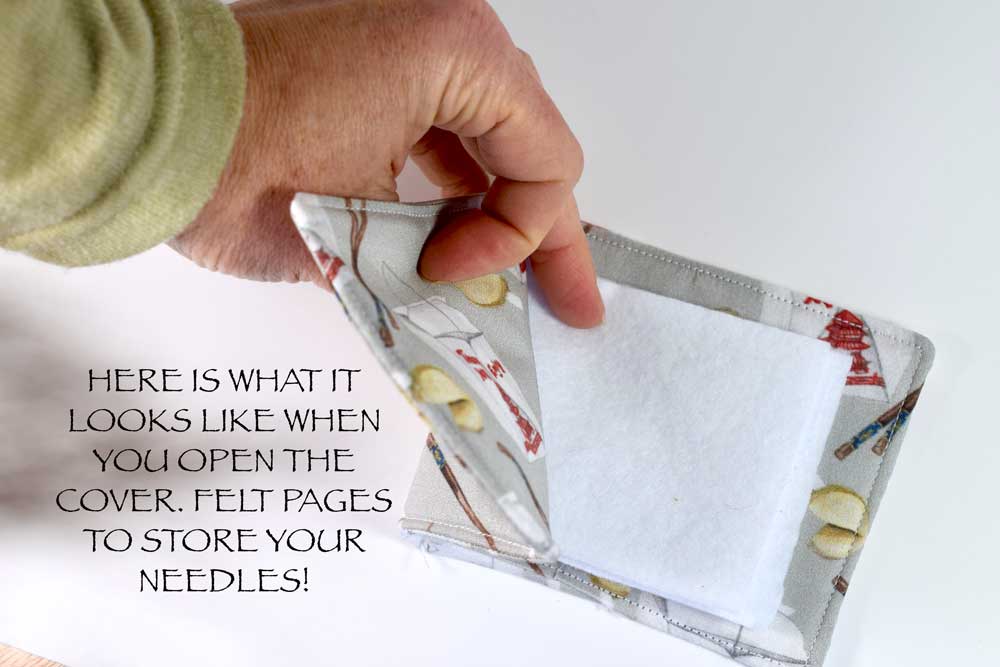
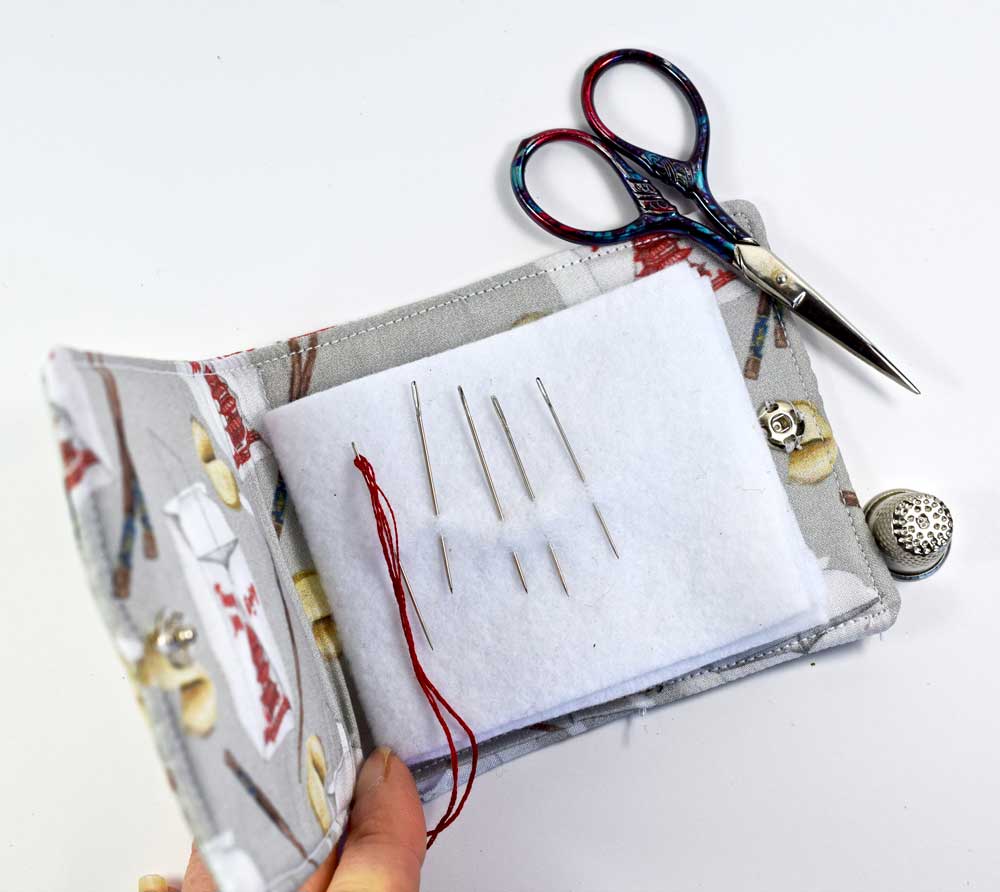
Now that we have tackled the no-sew version, next we will sew a very simple, no frills, easy needle case. If you get into this, you can add pockets for scissors and thread but this is just an easy straightforward way to get you started.

If you are interested in the fabric you see featured, it is available for purchase HERE at my Spoonflower shop.
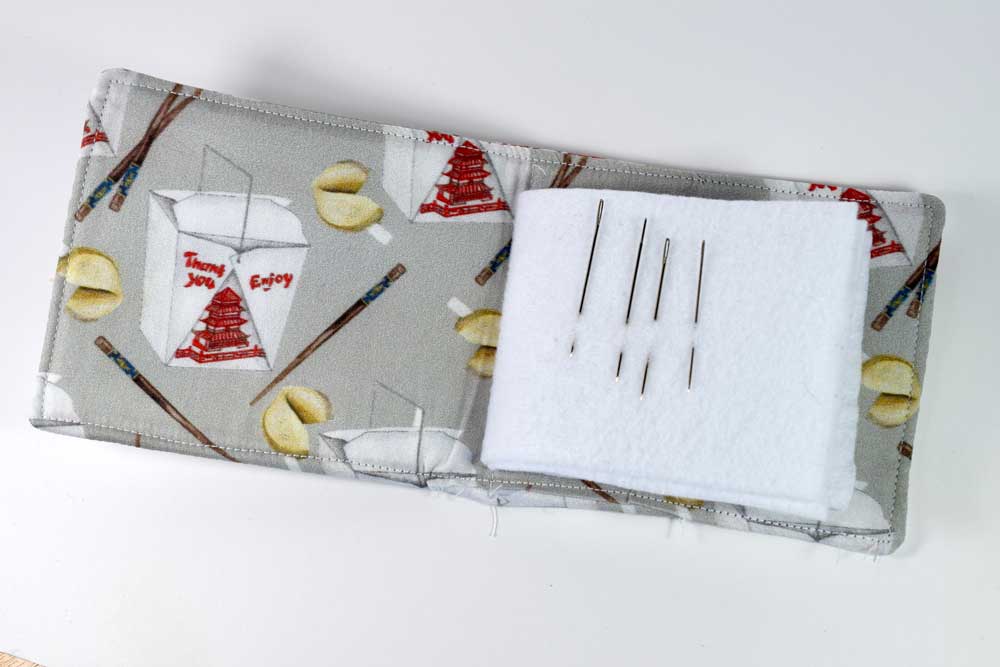
For this project you will need two pieces of cotton fabric and one piece of felt that are all 5 x 9 inches. The felt will be uses as batting to give the book some stability.

Layer the fabrics on top of each other. Start by laying down the felt first. Next put to two pieces of cotton fabric "right sides" together and lay them on top of the felt. Pin all the pieces together leaving a 2 1/2 inch opening at the bottom for turning inside out.

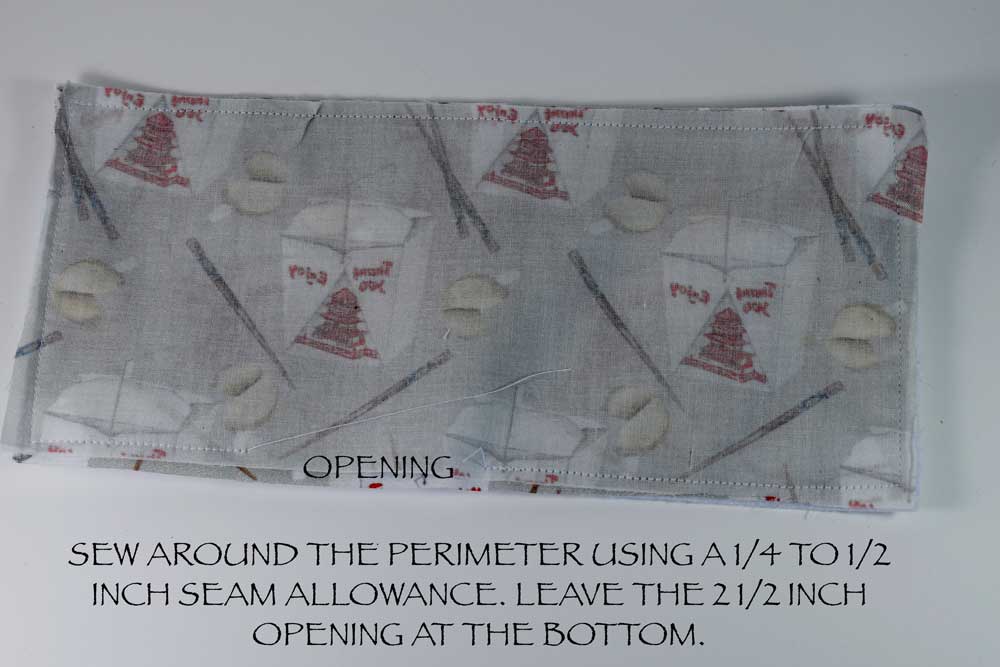


To close the opening, you can hand stitch it using the ladder stitch or just sew around the perimeter with your sewing machine using the topstitch, close to the edge. I used the topstitch for this example.
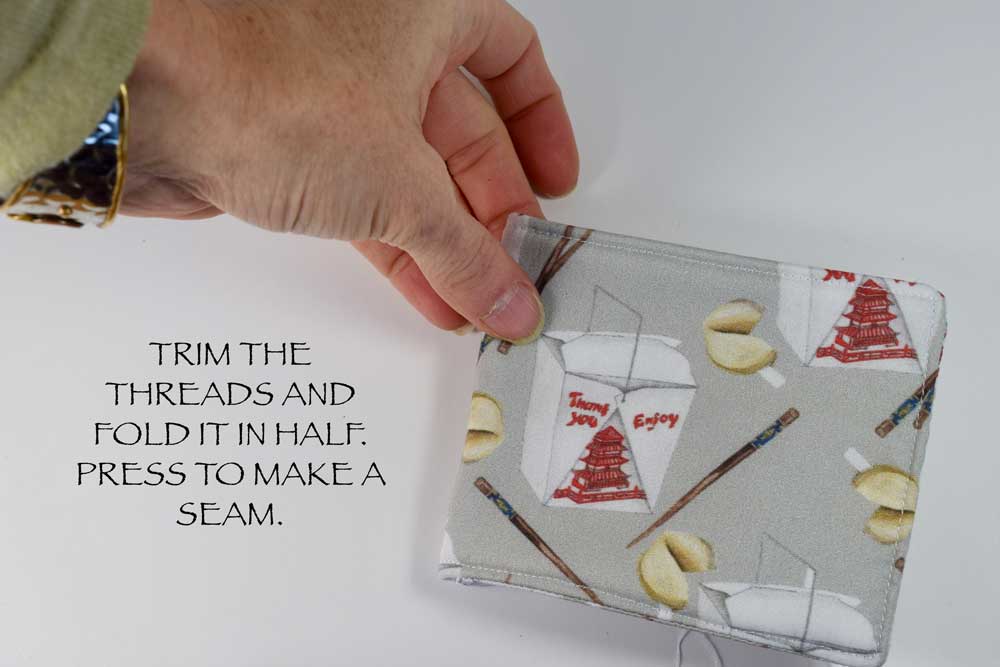


I use the iron to press the seam.
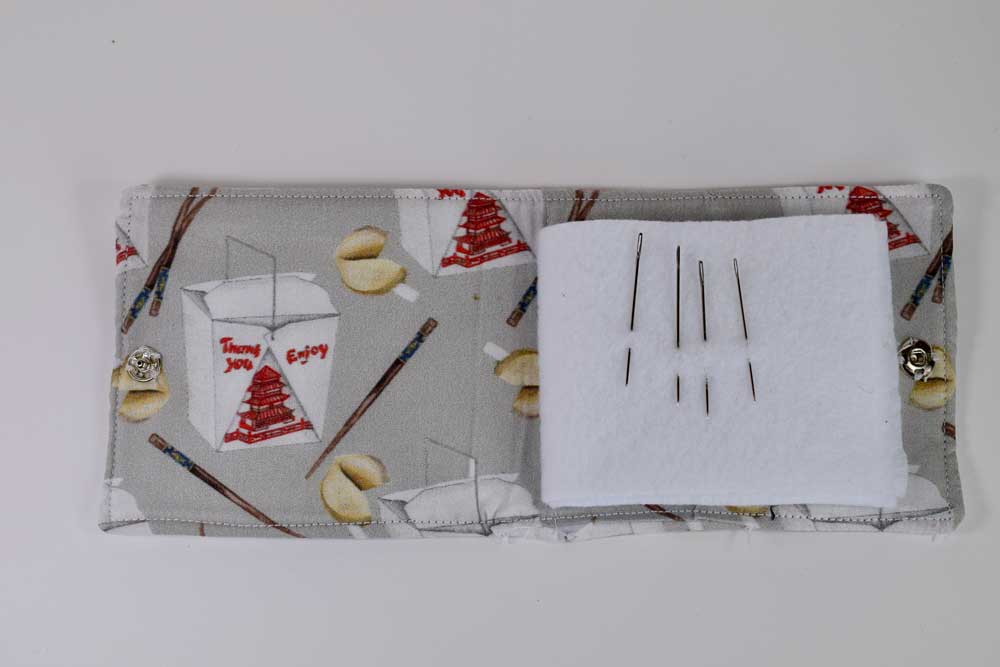
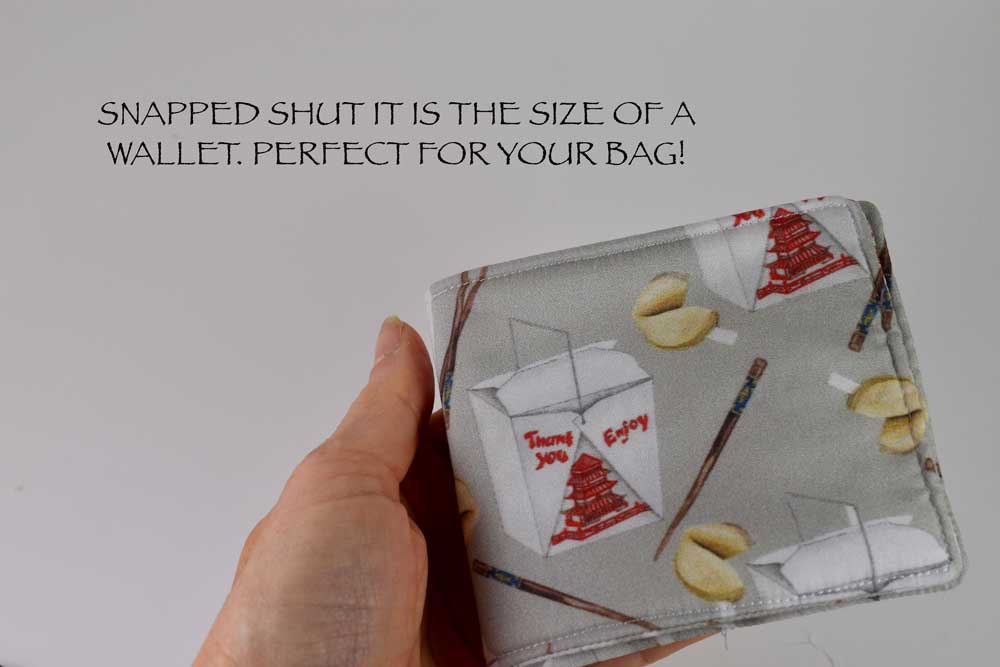
Pretty simple. You can stop here if you like but I added one more step. I sewed on a snap closure.

I closed the book and centered where I thought the snap should be. I marked on the inside of the book where each of the two snaps would fit then sewed them on by hand.

Well that's it. Two easy DIY needle cases which will hopefully be useful to you and save some poor bare feet from a major OUCHIE!

Thanks so much for stopping by!
Pam