Today I would like to share a really easy and fun transfer method for simple embroidery patterns. It is a wonderful product which looks like a fabric stabilizer but has an adhesive backing and also dissolves in warm water. It is thin enough to see through so you can trace your embroidery pattern onto it, then stick it onto any surface you want to embroider. When you are done stitching, it washes right off in warm water.
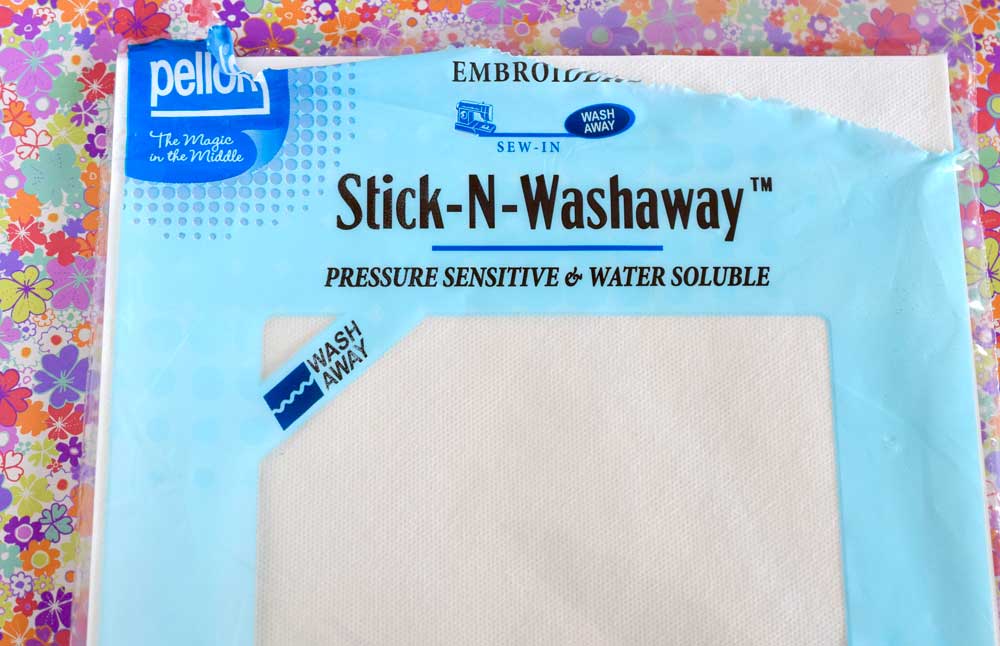
This is what I used. This is Pellon brand Stick-n-Washaway. Solvy (sticky fabri-solvy) is another brand that makes this product. I am sure there are other brands that make this as well but these are the ones I found and tried. They are both wonderful! This particular product comes in 8.5 X 11 sheets designed so that you could simply print your pattern directly onto the sheet! I did a brief internet search and priced these out between 7-10 dollars for a pack of five sheets. I have used the printer method but there was always a lot of paper left over so I will show you a simple way to use up this paper and add some cute touches to your clothing and accessories.
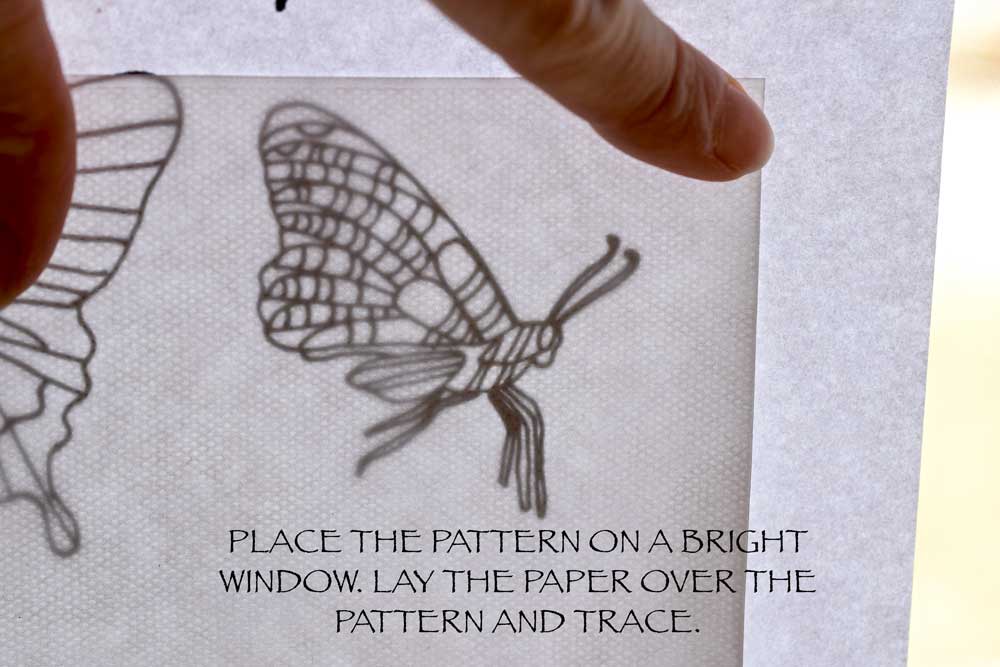
Each sheet of paper has a paper backing. It is transparent enough to see through even with the paper. After you trace your pattern, you simply peel off the backing and stick your pattern where you want to stitch.
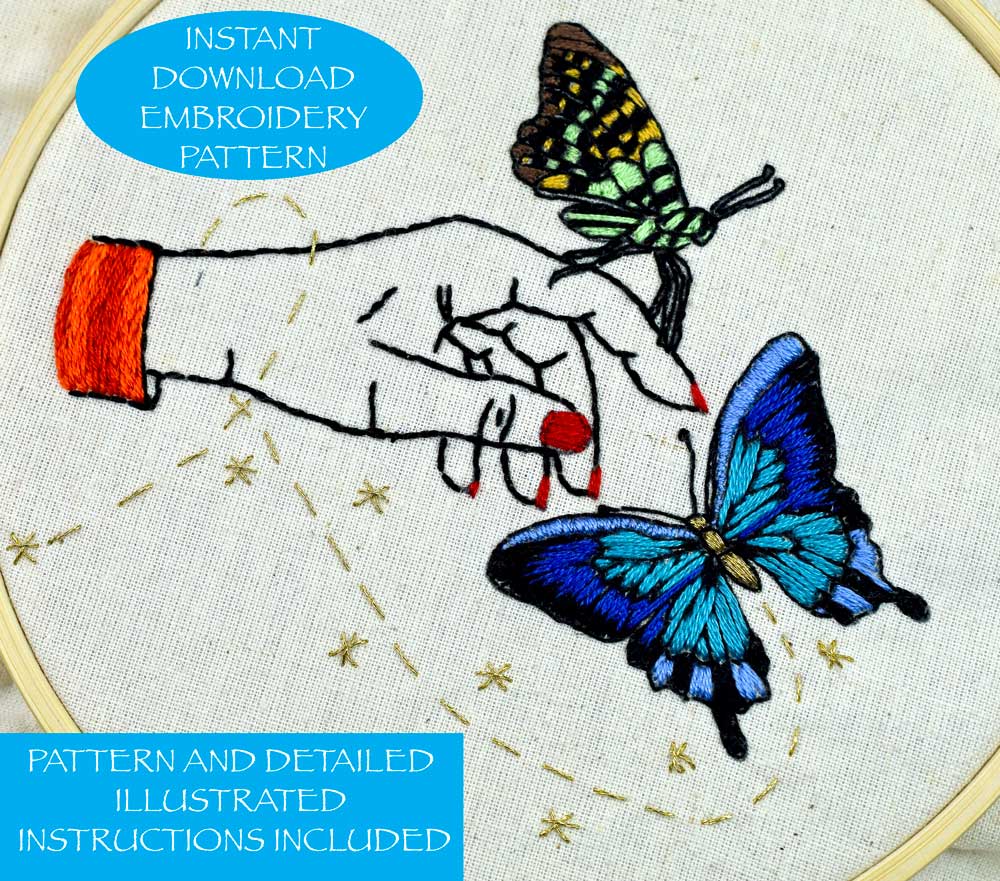
The pattern I used here was from THIS listing.
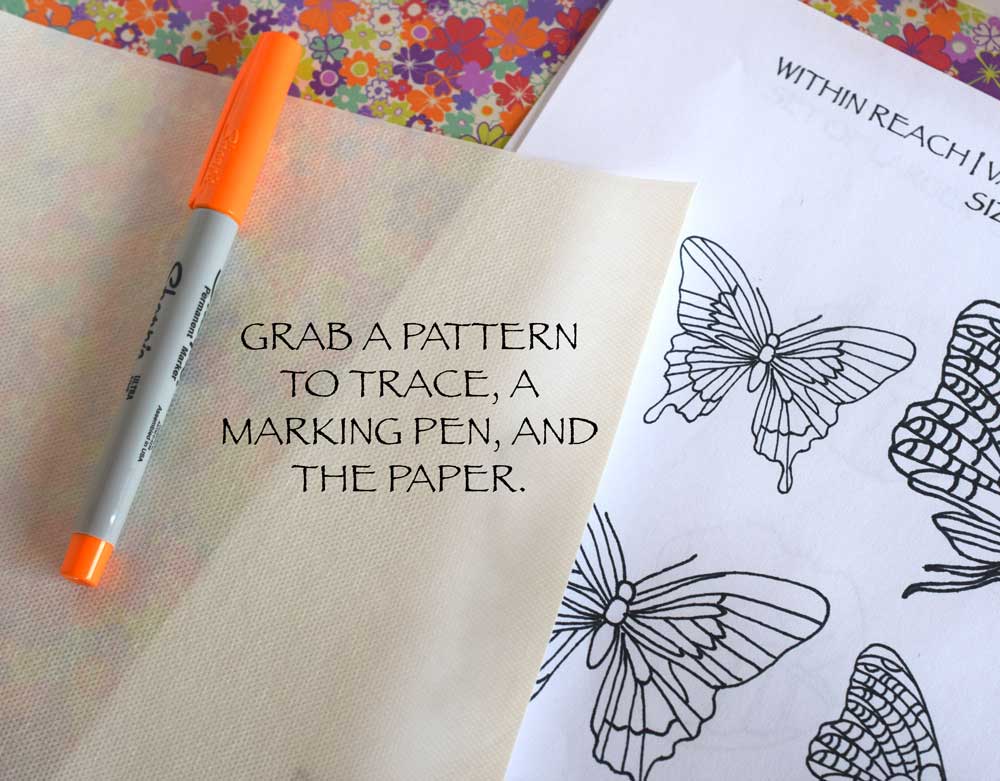
Find a simple pattern you would like transfer, a marking utensil, and a sheet of the Pellon paper. Notice in the above example, I used a sharpie marker. The sharpie marker bled into the embroidery thread when I rinsed it in warm water. I thought the effect was cool but if you do not want unexpected bleeding is would be better to use a fabric pen with washable or vanishing ink. I have also used pencil and did not have any noticeable bleeding.
Tape the pattern onto a bright window (or a light box if you have one.) Next tape the 8 x 11 sheet over the pattern and trace it onto the paper. (Make sure to use removable tape like painter, masking, or washi tape.)
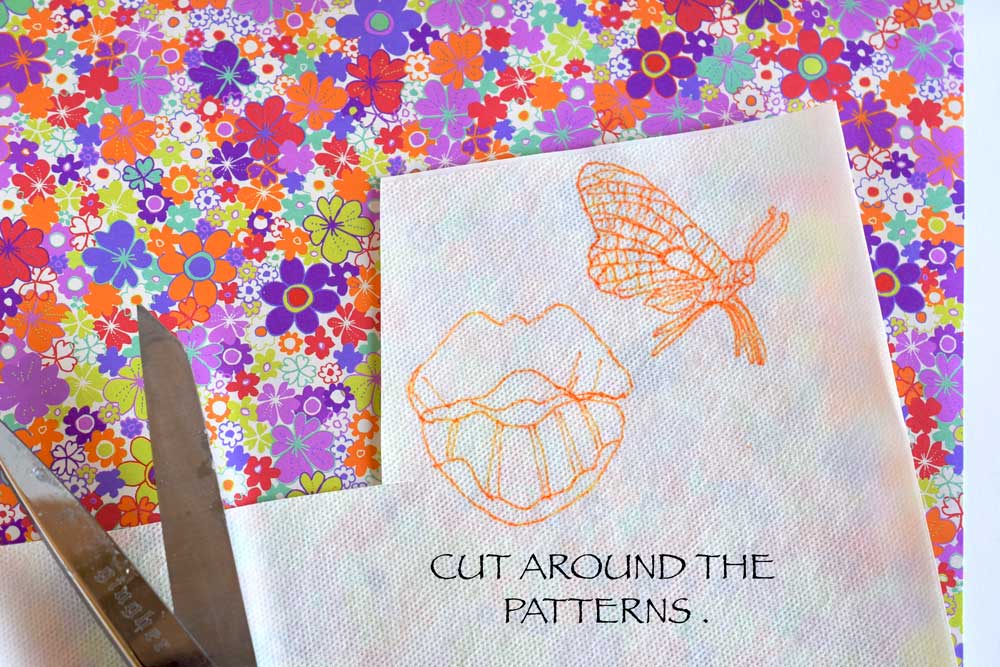
Once you have traced your patterns onto the stabilizer paper, use a nice sharp pair of scissors to cut around your designs. I like to leave a least 1/4 around the edge.
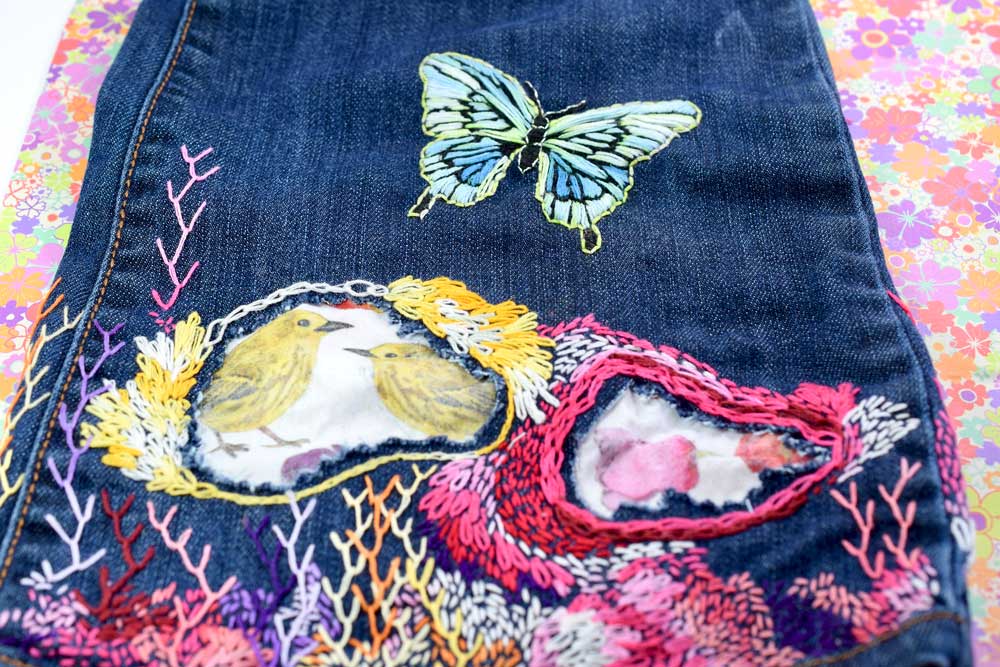
Once you have traced and trimmed your designs onto the special paper, peel off the paper backing and stick the pattern to whatever surface you would like to embroider! Make sure the surface you are stitching onto can be rinsed in warm water since you will have to dissolve the paper in warm water at the end. In this case, I chose a pair of jeans. Once you have applied your design to the desired surface, start stitching! Stitch right through the paper and into the fabric. You will not see the paper when you are finished.
Once you are finished stitching your design, it is time to dissolve the paper.
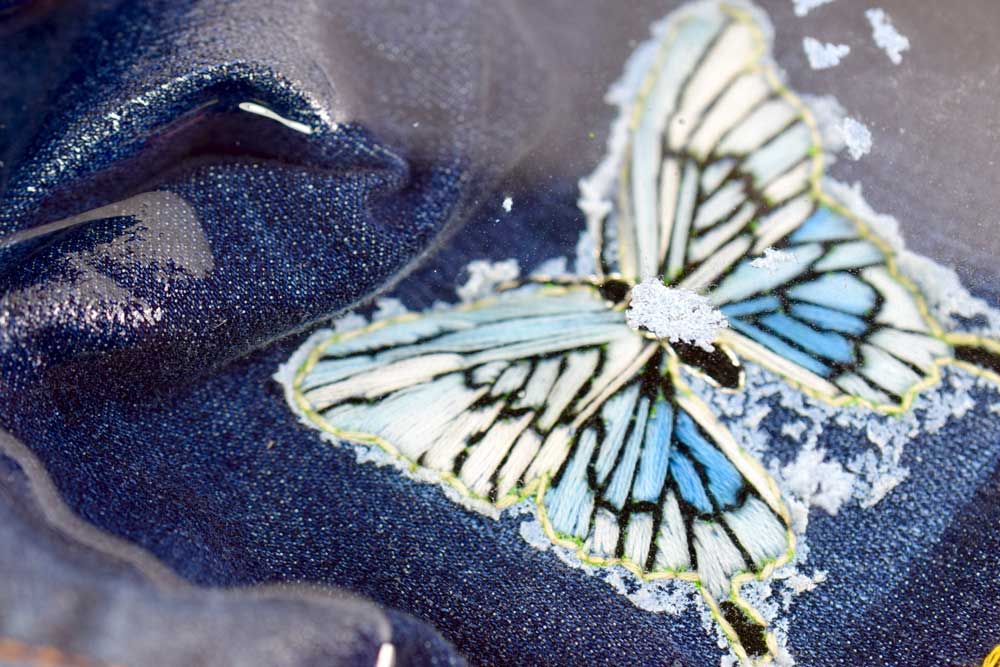
I simply put some warm tap water in a bowl and submerged the butterfly. You can see the paper immediately start to dissolve.
You can agitate it a little to help the process along. I can't help but get my hands in there and gently rub over the surface. This only takes a matter of minutes.
I rinsed off the rest then put the jeans in the dryer.
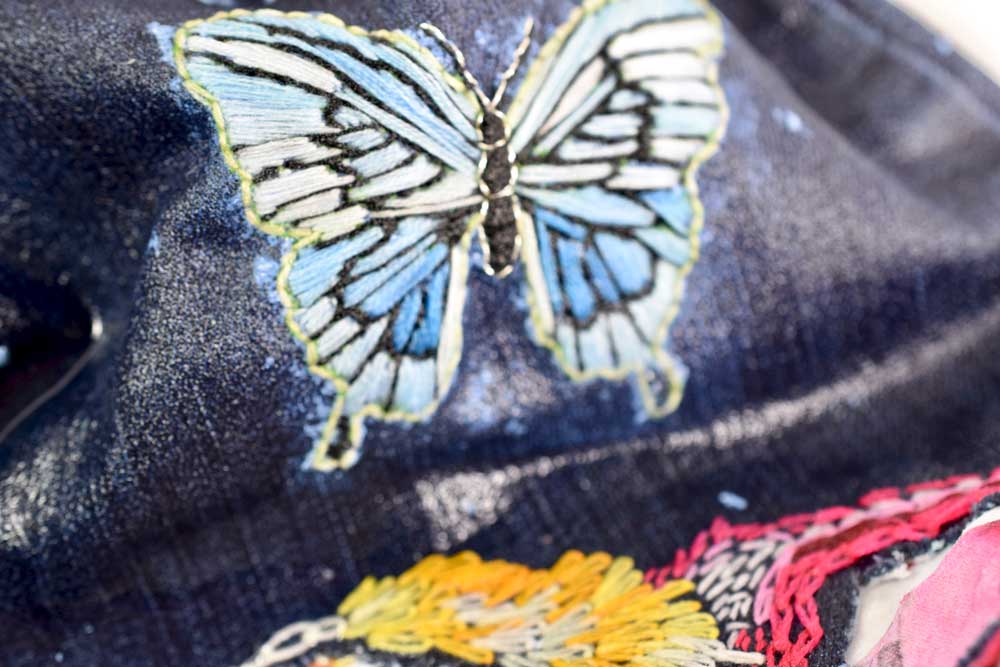
Isn't that great? You can see how the green sharpie blended with the thread but I loved that little added surprise at the end. I used a variegated light blue and now it has a little greenish tint.
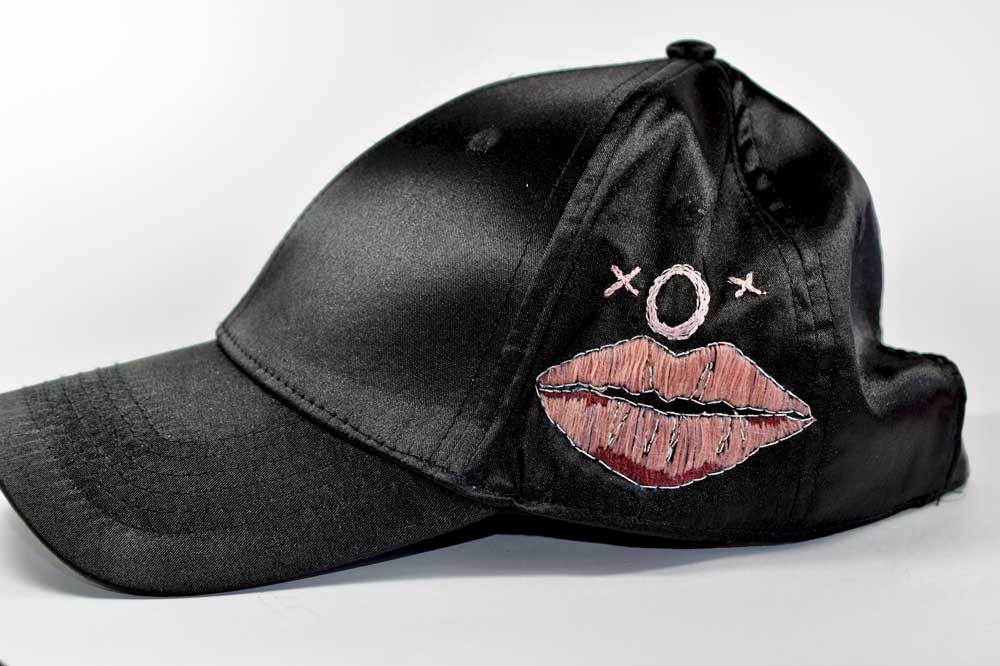
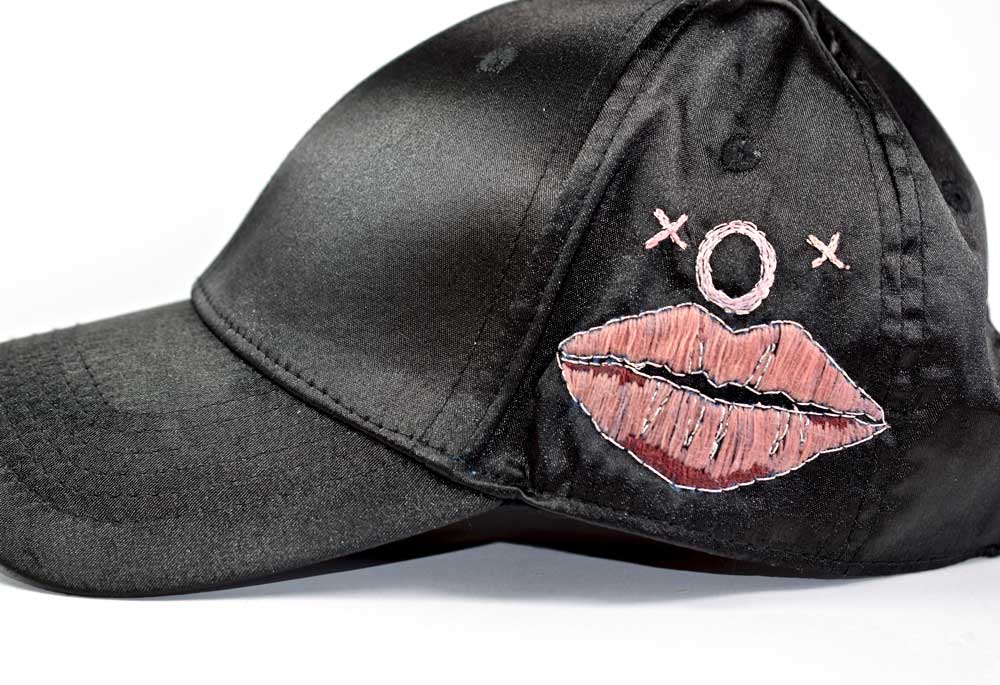
You really use your creativity to think outside the box and try this out on other accessories. I found this cheap shiny black baseball hat and adorned it with a big pink pair of lips.
If you like the patterns I have used in this example you can find them in my Etsy shop. The first pattern is from part of my listing called "WITHIN REACH".
Click HERE to go to this listing.
This is the full pattern but I have also included a separate pattern with just the butterflies so that you can add them to jeans, blouses, backpacks, handbags, onesies, or whatever you can dream up. You can choose any color palette and is just a simple backstitch and satin stitch. You could even do the whole thing in backstitch.
The lips are also great to accessorize with and are part of my "SHHHHH" pattern:
To get to this listing click HERE.
This pattern also includes a separate sheet with just the different lips which are so fun to make and great, on the back of a pair of jeans, for instance........
Thanks so much for stopping by!
Happy stitching!
Warmly,
Pam

