I really wanted my son to draw a picture of his teacher that I could embroider for her end of year gift. He wasn't in the cooperating mood so I had to come up with a plan "B". I decided to use her school picture and print in onto fabric where I could add a quote from my son. I used the black and white option to print the picture because I thought the colorful embroidery would have more impact. This would not only be a great teacher gift but also for a birthday, anniversary, or even wedding gift idea.
If you would like to give it a try, follow along!
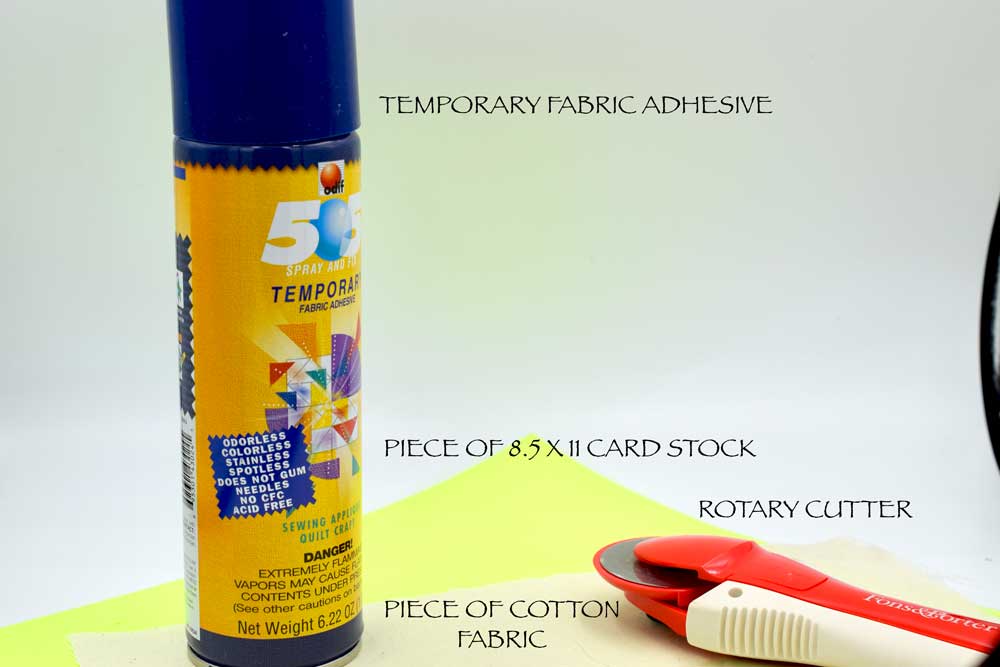
To print a picture on fabric using your home computer gather up these few supplies:
1. FABRIC SPRAY ADHESIVE - This is an excellent spray that will temporarily bind the fabric onto the card stock so that it will be stiff enough to make it through the printer. Once you have printed the picture, you will be able to easily peel the fabric off of the card stock. I have re-used the same card stock many times. Pictured below is what I use and love.

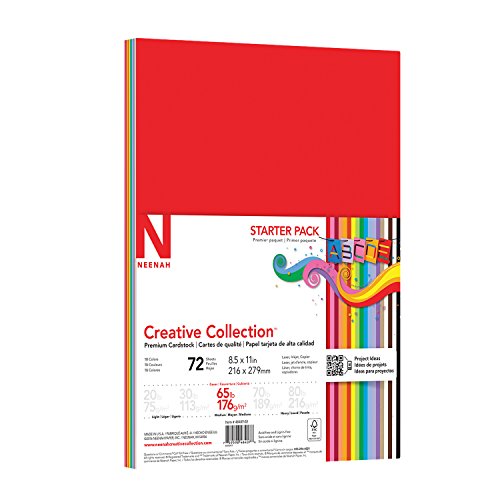
2. CARD STOCK - This is just a thick paper (think manila-like material) that is available in the craft store, usually in the scrapbooking area. They make them in 8.5 x 11 which is perfect for your printer. Here is an example of what I mean. You can get these in the craft store as individual sheets if you don't want or need this many.
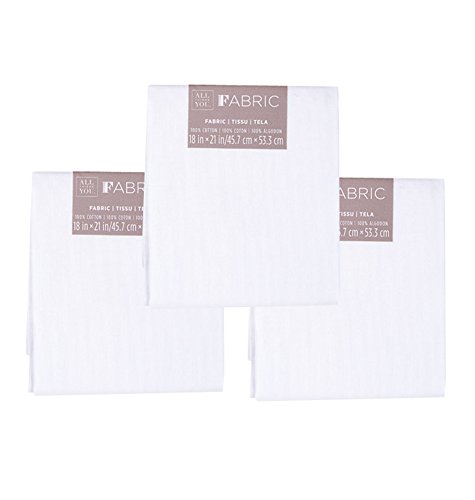
3. COTTON FABRIC - I tried to use unbleached muslin but it was too thin and would not go through the printer so a solid quilting cotton, such as KONA worked well for this project. I chose a gray fabric because I thought it would look nice with the black and white photo. If you go to the fabric store, they sell solid 'fat quarters' individually for quilting. A fat quarter measures about 18 x 22 inches so it is more than enough for this project. Here is an example pictured below of a fat quarter of fabric. They are pretty inexpensive and packaged to buy individually. It is so much more economical than having to buy by the yard if you are not someone who uses a lot of fabric.
I have an Epson Artisan inkjet printer and it does a great job but the ink I use is not waterproof and the printer can be a little fussy so sometimes I have to try it a couple of times before it grabs it just right and prints.
Start by ironing your fabric. Next, in a well ventilated area, spray your card stock evenly with fixative. Gently lay the ironed fabric over the card stock a little at a time smoothing out any wrinkles. Leave a little overlap of fabric around the edges to be trimmed so that you get a nice precise cut. If you have any little dangling fabric threads the printer will likely reject it.
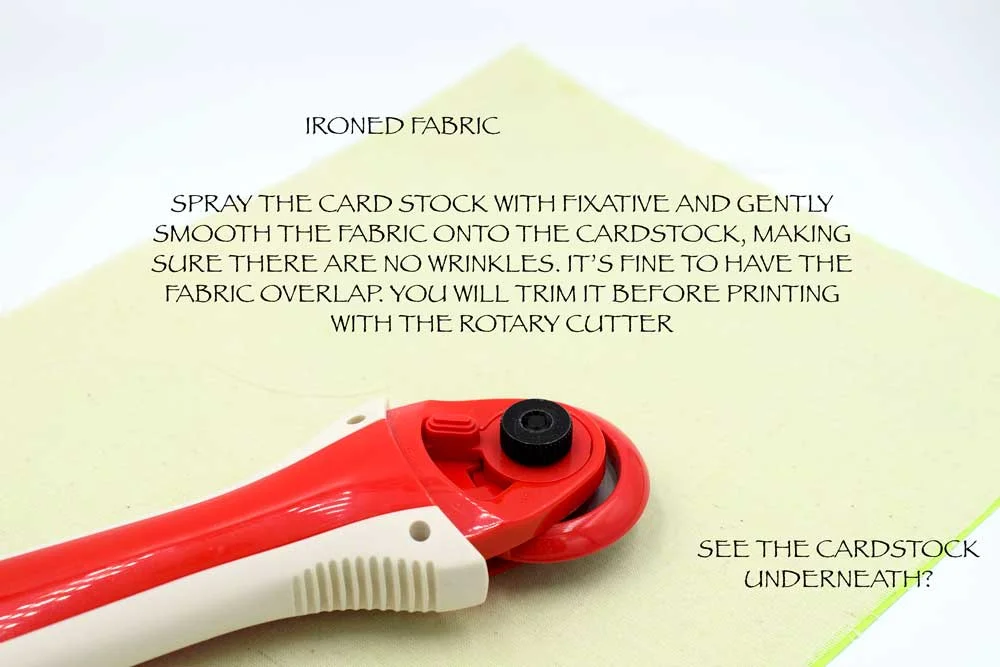
I take a straight edge and use my rotary cutter or just use sharp scissors to get smooth edges.

Once you have printed your picture, allow a few minutes for the ink to dry then peel the fabric off the card stock.
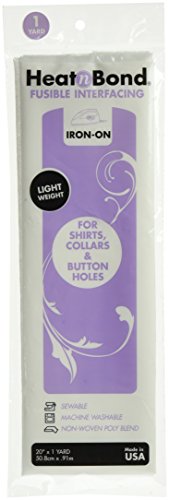
If I am using a fabric that is kind of see though or thin I add a stabilizer to the back. Just cut off a piece of stabilizer that is smaller than the fabric. You will feel a textured side. Lay down the piece of stabilizer with the textured side up and the wrong side of the fabric on top then press with an iron until the pieces are fused together. Below is the kind of interfacing I use.

Find a hoop size that fits over your picture and hoop your fabric for sewing!

The gray of the fabric and the black and white photo really make the embroidery stand out. I used the FEATHER STITCH to outline the rectangle of the picture then added some FRENCH KNOTS and LAZY DAISY stitches as buds. I decided to add a touch of humor by creating a crown made of petals and buds with ribbons streaming down the side. I can't think of anyone more deserving of a crown than this special teacher!!! On the left bottom corner I added a pink flower using the WOVEN WHEEL stitch. For a review of eleven great beginner stitches to experiment with click HERE.
At the bottom, I added a quote from my son that will have special meaning to his teacher. To add the quote, I measured the space I would be using and made a small rectangle template for my son to work within. Next, I traced the quote onto the fabric and embroidered over his handwriting. I thought it would add an extra special touch that the quote be my son's actual handwriting.
Try to think of funny stories or special traits when you are thinking of the person you are creating the gift for and try to incorporate them into what you are making. They add so much warmth and intention and people really feel and remember that!
(This post may contain some affiliate links.)
I hope this gives you some great ideas for a unique embroidered portrait.
Thanks for stopping by!
Warmly,
Pam