I always like to see art in unusual and unexpected places, especially the pairing of unexpected mediums.
We had a hole in one of our screen windows and had to buy a roll of screen material at the hardware store. When I saw the screen roll up close, it looked like a great place for some embroidery! In retrospect, I was wondering if this would have repaired the hole (?) I haven't tried that yet but I did embroider a small design onto my screen door. This is a fun little afternoon project that is perfect for a spring day when you can have the door propped open a bit and there are not too many bugs out yet.
For this project you will need:
1. EMBROIDERY NEEDLE - I chose a needle that was between 5-10 with a big enough eye to fit multiple threads. Test the number of threads that will fit through the eye and if you are having a rough time threading your needle, pick a needle with a bigger eye.
2. SCISSORS - For thread cutting
3. EMBROIDERY THREAD - I always use the six stranded cotton thread. I like that you can play with the thickness to work with the size of the holes in the particular screen you are using.
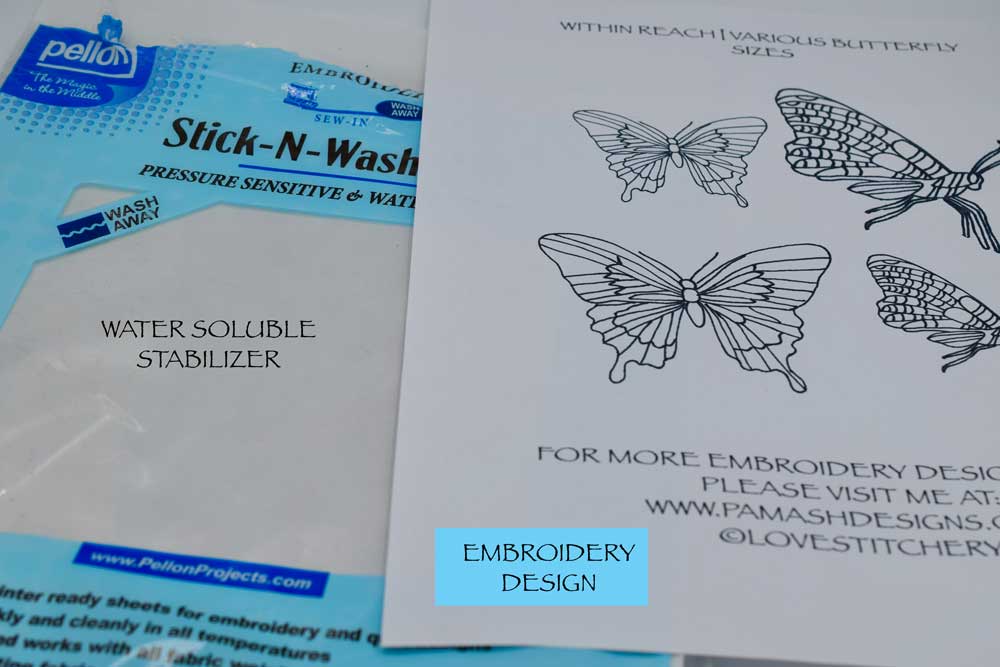
4. SIMPLE EMBROIDERY DESIGN - I chose a small simple design for my screen so that it would not distract from the view. The butterfly design I used is available for purchase my shop HERE.
5. WATER SOLUBLE INTERFACING - I used this to trace my design, then stick it onto the screen for sewing. It dissolves with water once you are finished stitching. Another option you might try is tracing paper. You could tape it onto the screen and then carefully rip it out once you are finished stitching. The example below is what I used.

6. MARKER FOR TRACING YOUR DESIGN: I initially used a pencil to trace the design but I couldn't see it on the screen so I used an orange sharpie.
7. A SCREEN - Choose a place that you would like to put your design. It could be a window or a screen door. I chose my back sliding door. If you choose a window, you can remove the screen to work on it but I just sewed right onto my door.


In the example above, I used a pencil. It was practically invisible when I put it on the screen since the screen is virtually the same color. I ended up choosing an orange sharpie to go over my traced lines.
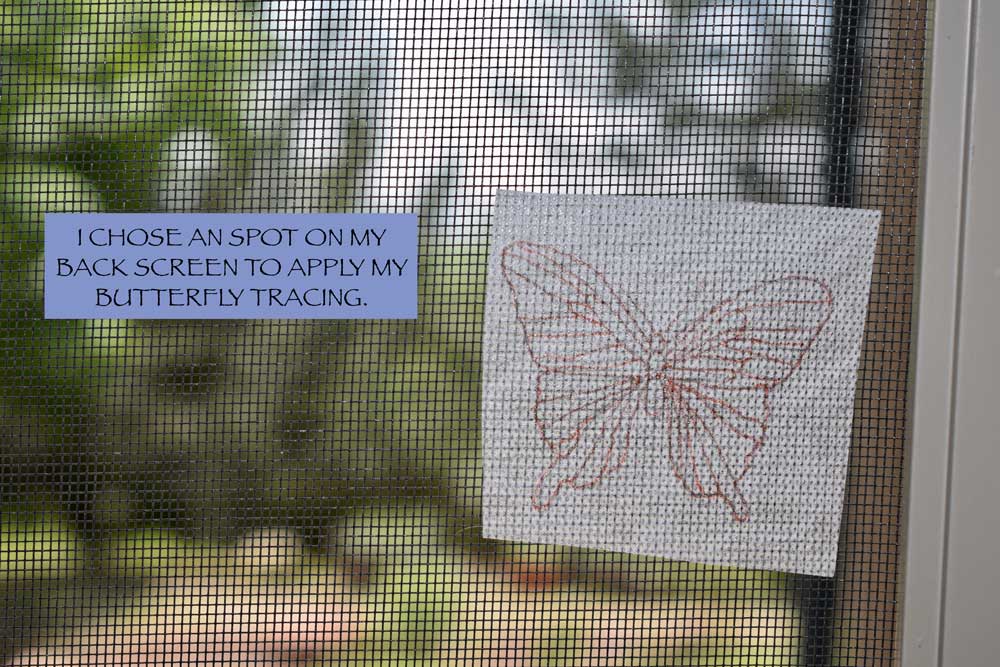
Choose where you are going to apply your tracing. I chose an inconspicuous spot on my back sliding door where I could see and enjoy it but it would not get in the way of the view.

Here is the fun part! Pick your thread color, thread your needle and begin sewing. I experimented using three threads for part of it and six threads for other parts. What I found is that using three threads allows for more detail but takes a little longer. You can cover more area faster with six threads but it is less detailed and a little harder to pull through the screen holes. I didn't worry too much about the back. I simply knotted my thread and then trimmed any extra tails short when I finished.

Once I finished the butterfly, I added a few details like a tail to indicate the flight path and some sequins. Beads would be cool too.

To remove the stabilizer, I got a wet sponge with warm water and applied it to the paper, dabbing and gently agitating it until the paper started to dissolve. I had to rinse the sponge a couple of times.

Once I removed the paper I noticed a few gaps so I did some thread touch-ups where needed. That's it! Kind of a fun and unexpected little adornment to your decor as a cute conversation piece to greet your spring and summer company!
You are probably wondering what the back looks like. It is not as pretty as the front! If you are putting this in front of your house you may want to nice side to face out. I put mine in the back of the house where I can enjoy it and I don't mind the messy side in back.

*This post may contain some affiliate links.
There are ways of hiding knots so that your embroidery can be perfectly reversible which I will definitely be tackling in a future post but I still like the messy artistic back, It's kind of charming in a perfectly imperfect way, at least that is what I tell myself!
Happy Stitching!
Pam