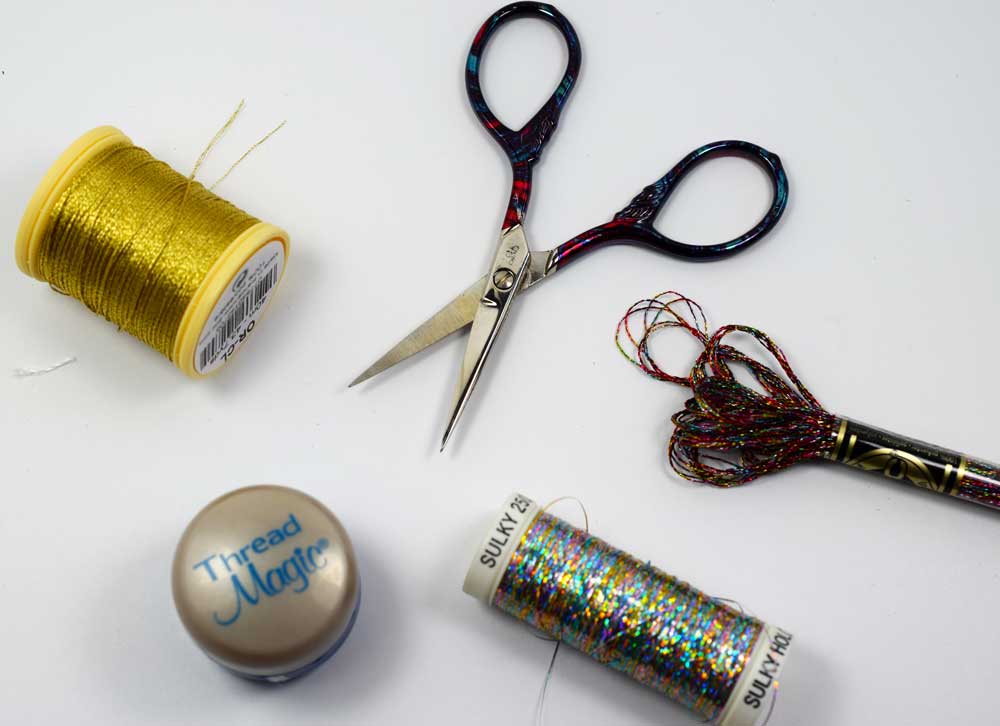
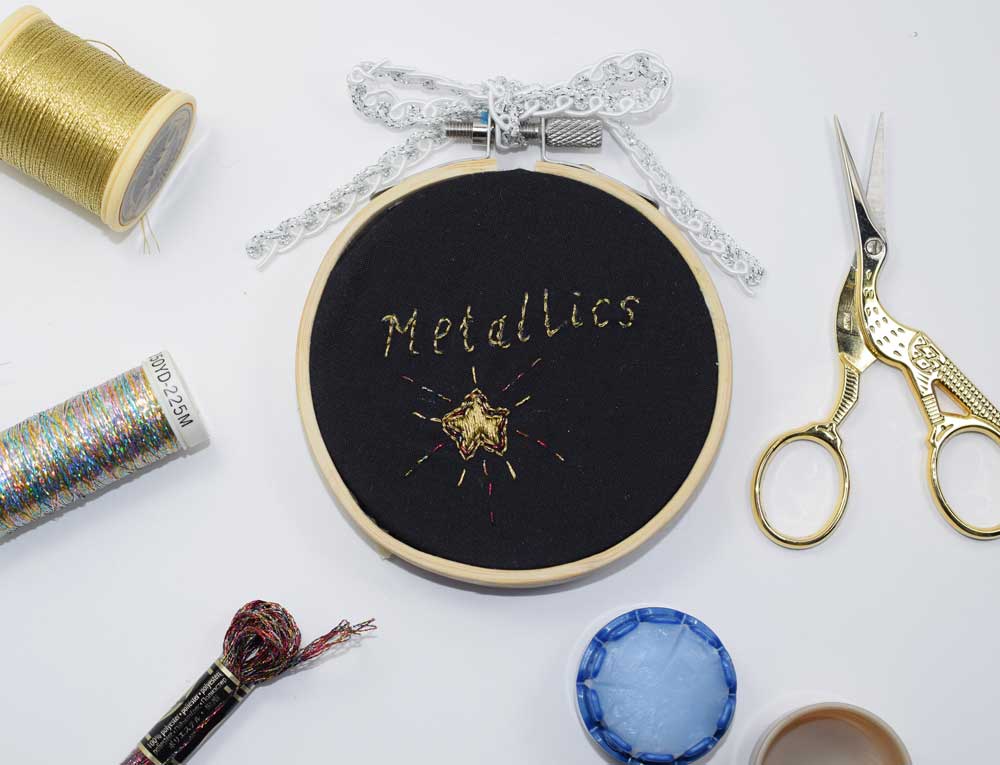
I have always been drawn to sparkle and with the holidays approaching, I thought this would be a great time to do a post about using metallic threads in your embroidery projects. I will tell you up front that this type of thread can be a little frustrating at first if you are not used to using it but once you have some practice and a few helpful tips, you will be tempted to add this thread to EVERYTHING. Let's start by learning about some of the different kinds of thread available.
This first thread I am going to use is DMC metallic floss. This floss has six strands just like the non metallic versions and is made from a shiny polyester metallic and viscose blend (something like rayon.) This thread is quite stiff and tends to snag easily. WORK SLOWLY with this thread.
I generally like to separate one or two threads and work with those. When I try to use more it becomes harder to thread them in a needle. I had been just threading metallics the same way I do my regular thread but in my research I found a better way to thread metallics to help prevent snags and fraying which I will get to in a moment. When working with metallics you want to KEEP YOUR THREAD SHORT. Longer thread lengths will knot and snag more. Normally you might work with an 18 inch thread length but you want to keep it to about a 12 inch thread length with metallics. Cut a 24 inch thread (It will be folded in half.)
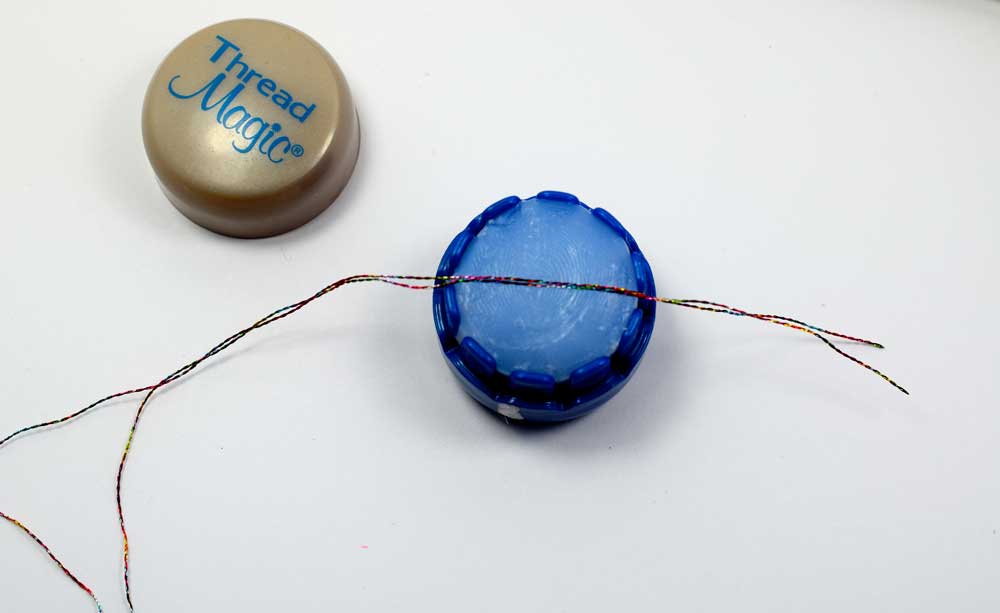
Before threading the needle I wanted to mention this product. I used thread magic. It is a waxy coating that you can run the thread through to make it glide through the fabric more easily and really does help prevent snags. There are a a couple of different brands out there but I think they all do the same thing and there are even tutorials to make your own. If you plan on using silk and metallic threads a lot it is worth getting some. I found it really does help but it adds this extra step to the process.
See how it has those dips around the edge? Lay your thread in the dips and then put the cap on and pull the thread through to LIGHTLY COAT THE THREAD WITH WAX.
Now to thread your needle, take the 24 inch piece of thread you cut and waxed and fold it in half. Take the end with the loop and squish it down between your forefinger and thumb and thread it through the eye of the needle. If you are having a hard time, try getting a needle with a larger eye. Pull the loop through about an inch or two. Now take the end of your needle and glide it through the loop you made. Pull it taut to make a knot. That's right, A KNOT RIGHT BENEATH THE EYE OF THE NEEDLE! This really helps the thread from twisting and prevents some of the friction of the thread as it's going through the fabric. When the fibers start to twist apart and become uneven snags and knots occur so the knot helps keep the fibers aligned.
Here is what it looks like after you have made the knot at the top of the needle. I like to pull the thread taut and then knot the other end, as well. The other option is to not make a knot but catch the end under some other stitches in the back. This method is popular with cross stitching since you want to the piece to lay flat.
Here I made a tiny star to demonstrate what the six stranded floss looks like.
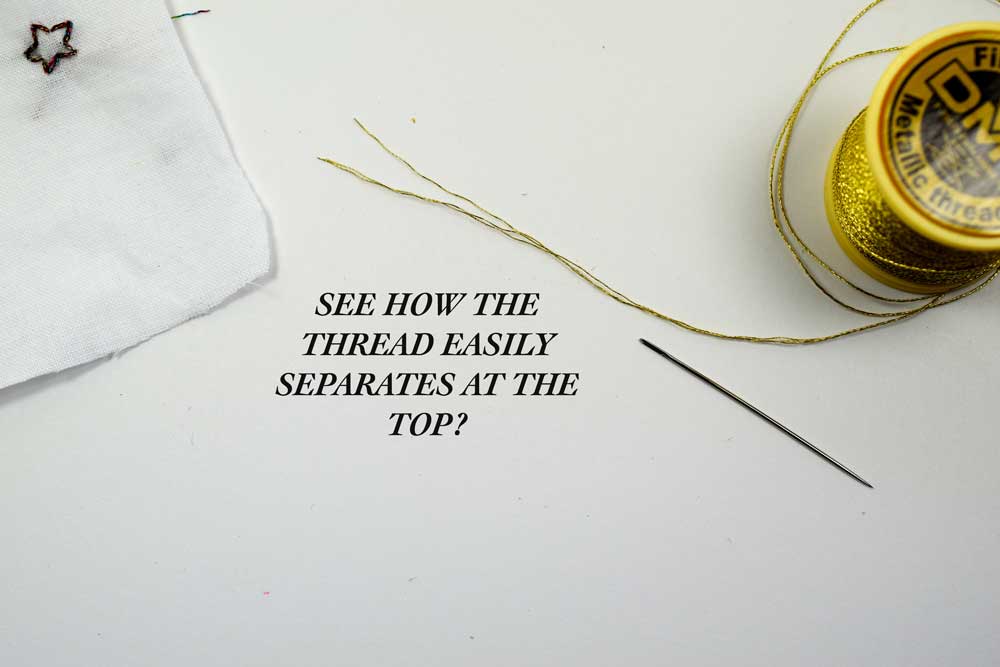
The next thread I am going to use is DMC metallic thread that comes on a spool. This thread is not the six stranded thread you are used to. I think the kind on the spool is meant for machine sewing but I love this thread for hand sewing. It is thinner and a little smoother. It does separate at the top though. I KEEP SCISSORS HANDY TO TRIM THE ENDS when I am threading my needle.
Thread this the same way you did for the six stranded floss. Fold it in half, thread the loop side through the needle, then guide the needle through the loop and tighten to make a knot.
Here is a gold star sample. I filled it in with a few lines to make it extra sparkly. Gold is fantastic to outline darker floss or on dark fabrics.
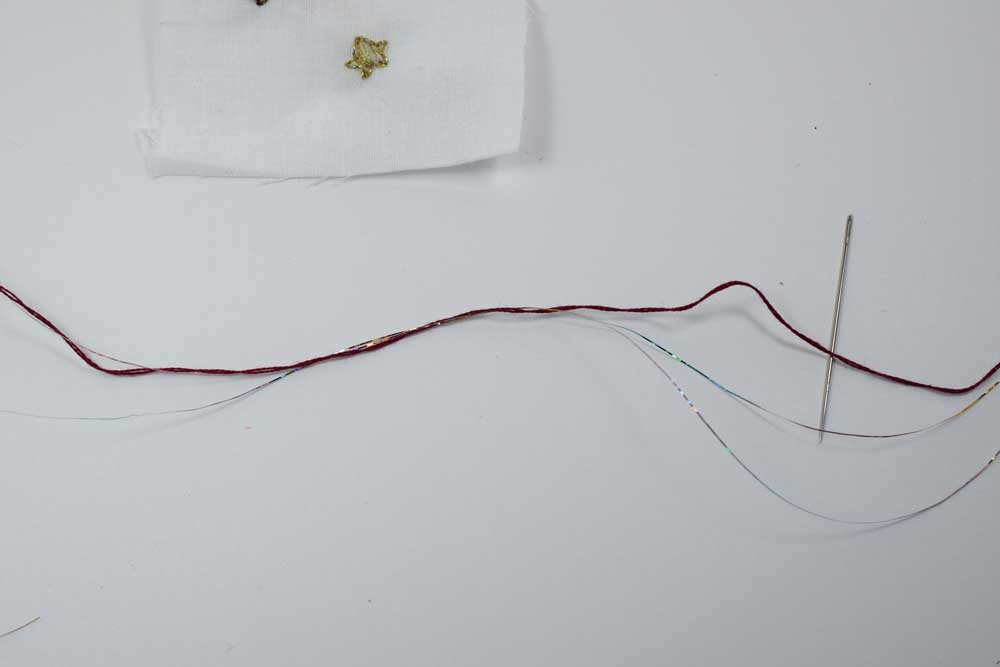
The last thread I will talk about is called a blending filament. As the name suggests, it is meant for blending with other threads to add a little shimmer and sparkle. Here, I cut a 24 inch length of red thread. Then I cut a 24 inch length of the filament thread. Match the two threads together. To add more sparkle, add another length of filament thread. You may have to twirl the threads together to get even sparkle effect.
I added two strands of blending filament here. Thread the same way as the previous examples.
Here is a little sampler of the different kinds of threads. I love how the filament adds just the right highlight to ordinary threads.
O.K. so to review the tips:
1. WORK MORE SLOWLY
2. KEEP YOUR THREAD SHORT
3. USE THREAD WAX
4. MAKE A KNOT BENEATH THE NEEDLE
5. KEEP SCISSORS CLOSE BY FOR TRIMMING MESSY ENDS
You are so ready to give this a try! Just take a deep breath and be patient. Totally worth the end result. I promise!!!
Best of luck in all your sparkly projects! If you would like some great stitched ornaments/stocking stuffers take stop by MY SHOP and have a look! COMING SOON: DIGITAL PRINTABLE EMBROIDERY PATTERNS just in time for the holidays:)
Thanks so much for stopping by!
Warmly,
Pam

