If you are looking for a way to create some unique embroidery, consider your fabric. A plain off white or white background can really make a statement but how about something a little different? Today I am going to demonstrate a simple way to dye your fabric to create some really unique backgrounds on which to embroider.
At first, I really wanted to try vegetable dyes but after some brief research I realized it is actually a bit more complicated than I thought so I kept it simple and went with some classic RIT dye. I used this liquid form which is ready to pour right into the water. RIT also comes in a powdered form that you can add water to. These liquid bottles were about $2.50 each. The RIT website is chock full of easy to follow directions, color mixing charts, and different dye methods as well as what type of fabric to use with different types of dyes. I am not affiliated with them in any way but I really had a great experience using the dye so I thought I would share it with you.
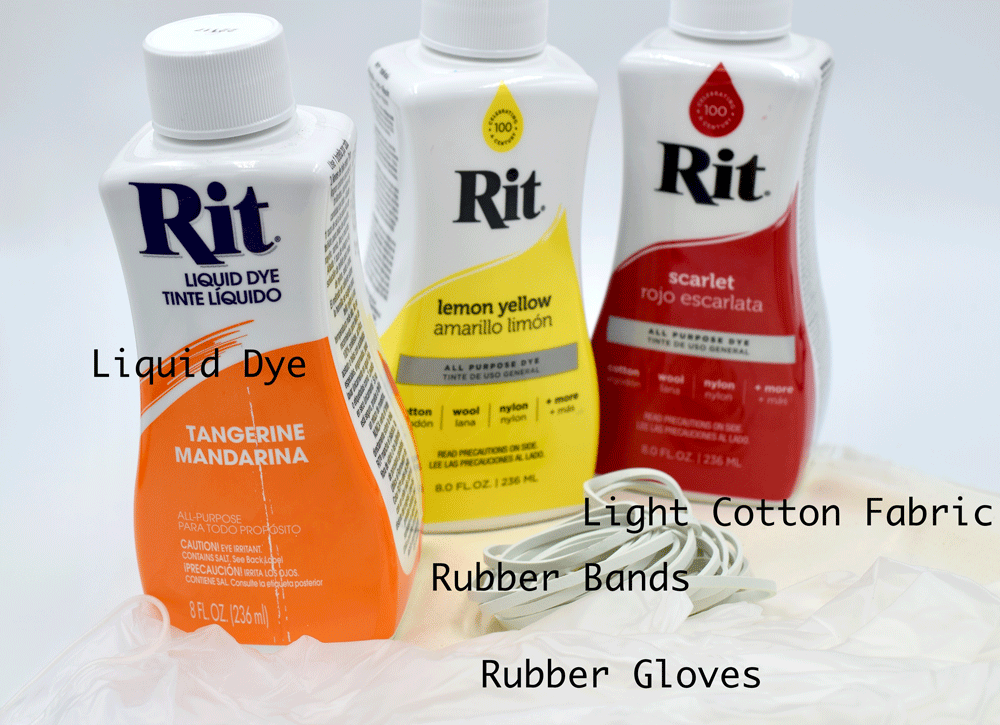
Start by gathering a few things:
LIGHT COLORED COTTON FABRIC: I used a white cotton fabric. This particular dye is meant for cotton and the white took the dye beautifully so I think it's a great beginner choice.
DYE: I loved this liquid RIT. It was so easy to work with. Just pour into a bucket with hot water, salt and dish liquid and you are ready to go.
RUBBER GLOVES: You will want to have these to keep your hands from getting stained.
RUBBER BANDS: I wanted to tie-dye my fabric so I used rubber bands but if you just want to dye the fabric then skip this part.
LARGE BUCKET: You want a bucket large enough so that you can fill it with enough water that your fabric can float freely. A nice sized three gallon bucket should cover all your needs.
HOT WATER: You will need some very hot tap water. If your tap water is warm, boil some water to add as well.
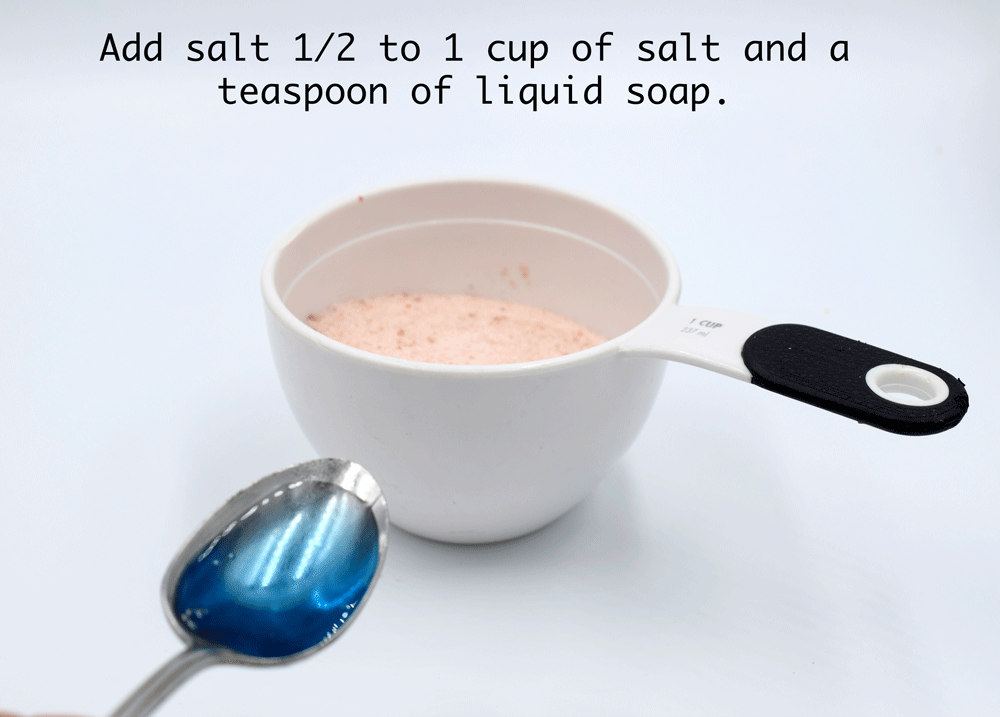
SALT: 1/2 to 1 cup will be added to the hot bucket of water. The salt will help with better absorption of the dye into the fabric.
LIQUID DISH SOAP: A Teaspoon or so will also be added the mixture to reduce surface tension of the water so that the dye can be better absorbed into the fabric.
I start by preparing my fabric. It would be a good idea to wash your fabric first. Sometimes there is a finish on new fabric which should be washed off in order to better take the dye. Not me. Too excited to get started! I still loved the results.
I added some boiled water from my tea kettle to top it off.
Add salt and dish soap to the hot water in the bucket.
The bottle instructions say to use 1/2 bottle of dye for per pound of fabric which is the equivalent of 2 adult t-shirts using 3 gallons of hot water. For darker and more intense dye use the whole bottle. Being a 'more is more' kind of a gal I used the whole bottle. I added a cup of salt and a teaspoon of dish soap. I definitely could have used less dye because rather then getting a more intense color, I felt like I just ended up spending a LOT more time rinsing the dye at the end and the color didn't seem more intense.
Grab those rubber gloves and add the dye.
I did this in my mudroom sink. If you are doing this on a table of some sort, cover it with something to protect the surface from being stained by the dye. This gets messy as heck!
Look at that gorgeous inky water!
This part felt like it took forever. I just kept rinsing until I felt satisfied I wouldn't dye the rest of my laundry if I washed it!
Once you are satisfied that the water is clear, wring out the fabric. I used scissors to gently cut away the rubber bands and opened all the fabric to dry a little outside before putting the in the dryer. Keep in mind that the fabric will look a lot darker when it's wet.
Isn't that gorgeous? You can see the 'circle within a circle' example on the left. On the right, I dipped half of the fabric in red and half in yellow to create this sunrise effect. I threw in a baby onesie just for fun, too.
Here is the sunrise up close.
Indigo circles.
SO CUTE!!!!!
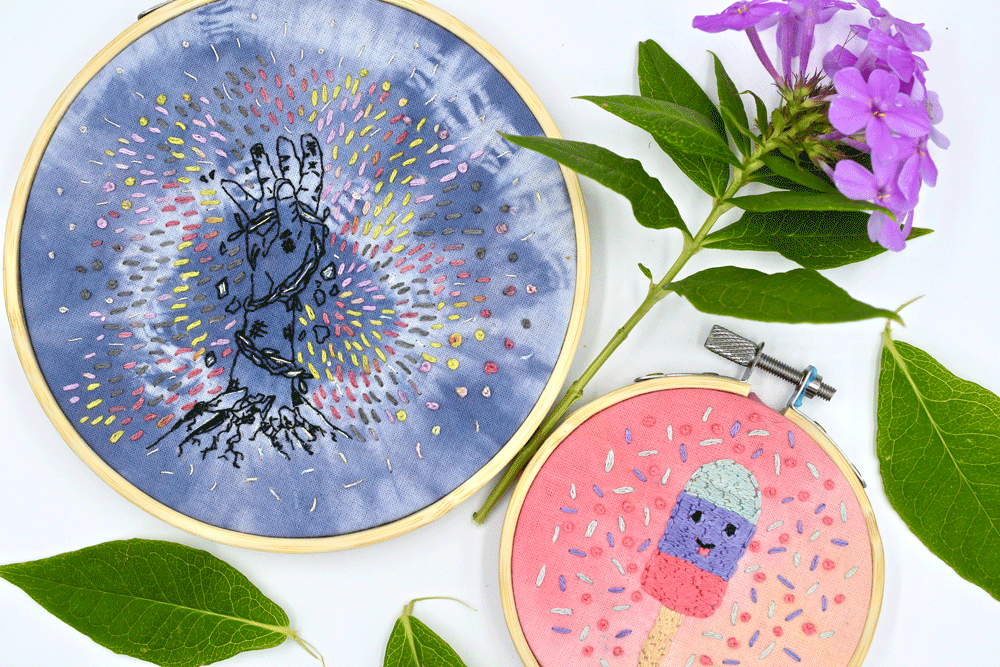
You can see they dry a lot lighter. I loved finding interesting color transitions on the fabric to hoop. Now I can't wait to embroider something special in these unique, on-of-a-kind surfaces which add to the artistry of the piece!
Well there you have it. A fun little afternoon project. Hope you enjoyed! Thanks for stopping by.
Pam


