There are so many things you can make when you have a few beginner embroidery stitches under your belt. You can make simple designs and hang them in a hoop on your wall and stitch designs on your clothing but today I would like to show you another way to use your embroidered designs. In this post I will show you how to use your embroidery to make a keepsake card.
SUPPLIES:
CARD STOCK: To make your card
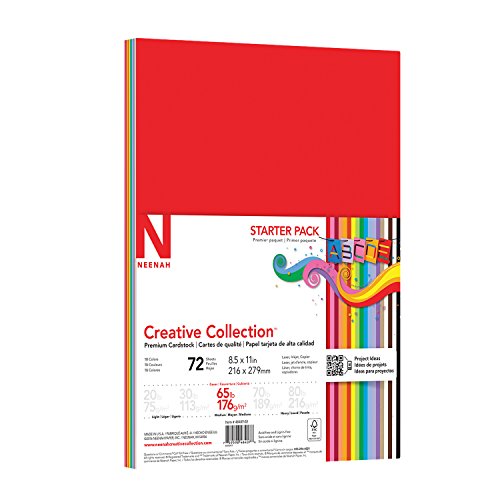
BLANK CARD - *optional if you don't feel like making one with card stock
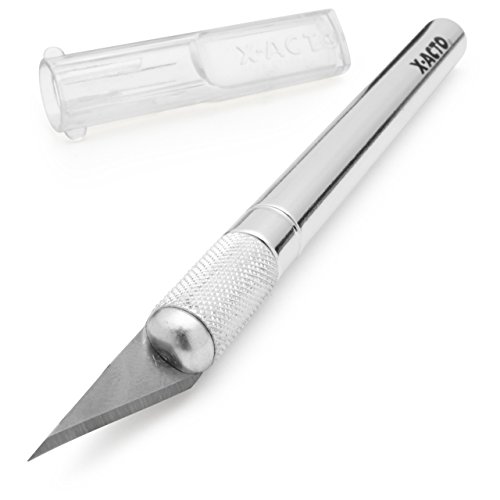
EXACT-O KNIFE: To cut a circle or oval in the center of the card.
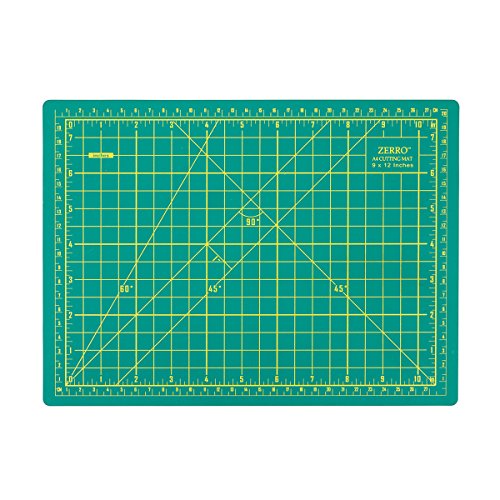
CUTTING MAT: To protect the surface when cutting with the Exact-o knife
SMALL EMBROIDERED DESIGN ON COTTON FABRIC: Be sure the measure the circumference around the design so that you know how big of a circle or oval to cut on your card to allow your design to show through and enough fabric overlap to glue or sew down the edges.
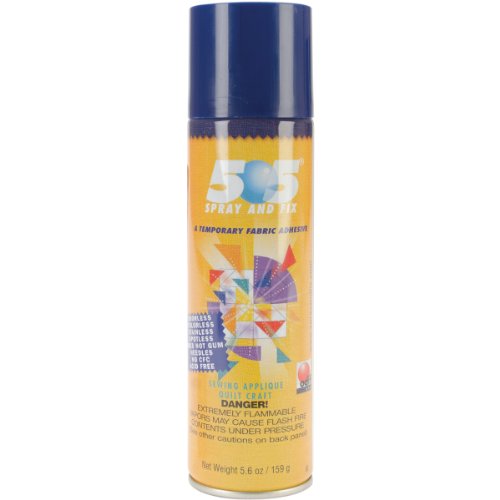
FABRIC ADHESIVE: This will affix the fabric to the card before sewing OR:
TACKY GLUE: If you don't want to sew, you can just glue your fabric to the card.
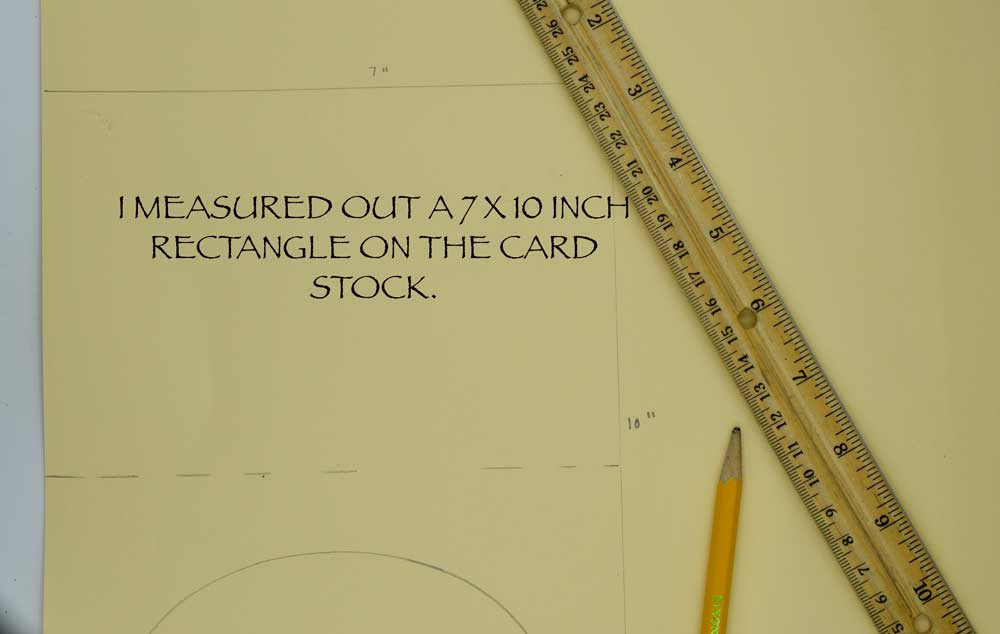
You can buy blank notecards or use a sheet of card stock. If you are using card stock, measure a 7 x 10 inch rectangle. This will be folded in half to create your card.
Get your pre-sewn design and measure the circumference to figure out how big of an circle or oval to cut on your card.

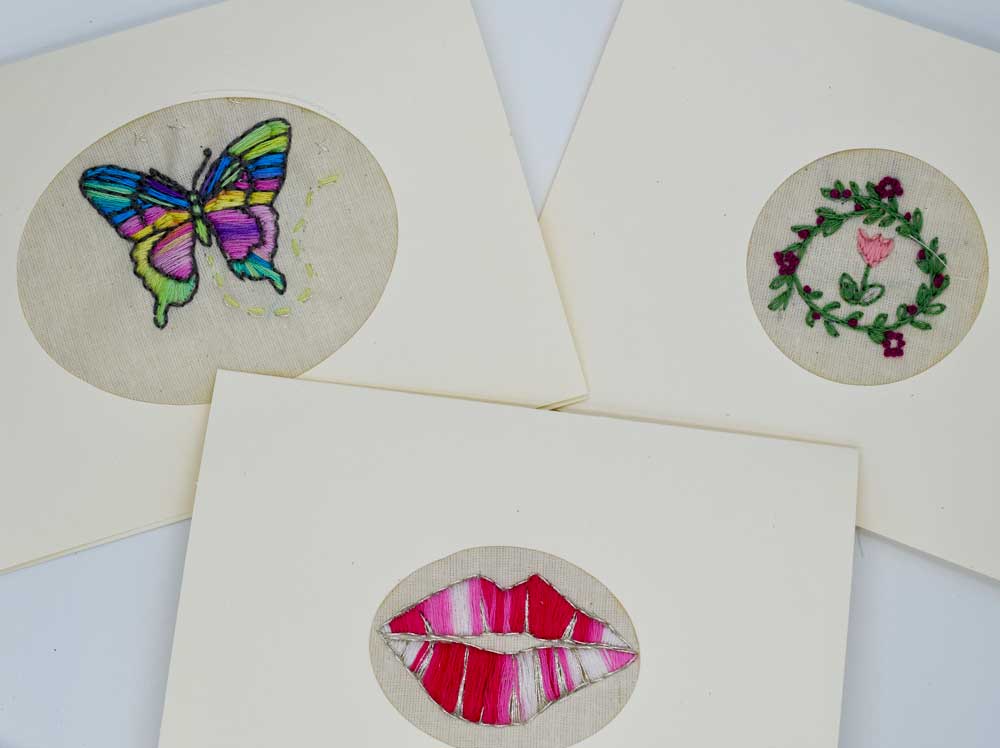
I sewed some designs on a piece of unbleached muslin fabric. These designs can be found at my shop HERE as printable patterns. The little tulip in the bottom right corner is a freebie you can print HERE. When I say 'small' I mean about 2-4 inches. It should fit in the center of the card. Measure your design and then find a circle or oval shape to trace around as a template. I often use the top of a ball jar lid. Trace the circle centered on the card then use the Exact-o knife to cut out the circle shape.

In this example, I sprayed the back of the card with this fixative spray, then centered my fabric design so that it would face out of the circle. What is nice about this fixative is that you can pull the fabric up and re-stick it if it is not where you want it.

Don't close the card yet since the fixative will seal it together.

I added the RUNNING STITCH around the edge if the circle. This serves two purposes. It attaches the fabric firmly to the card and adds a pretty decorative element.

To finish, I cut a rectangle the same size as the top portion of the card and glue it to the back of the fabric piece to cover the messy unfinished part.
In this shortcut version I used blank note cards and just glued the design to the back


It never hurts to add some decorative stitches around the edge of the design. To take it one step further, add some coordinating stitches to the envelope. I added some freehand straight stitches to the design using (my favorite!) variegated thread.

Add a bow using backstitch. Draw a very light sketch in pencil, pre-punch holes with your needle, gently erase the needle marks, then sew.

French knots make an elegant little border. If you plan on mailing these bumpy letters, be sure to include extra postage since they will not go through the machine and will need to be hand sorted.
If you would like to learn more beginner stitches see THIS post featuring 11 great beginner stitches to learn or make THIS fun stitch sampler available as a download at my shop.
*This post may contain affiliate links.
Thanks for stopping by!
Pam