I love to mix up different art mediums. You don't have to limit yourself. Think out of the box and make your own art mash-ups.
If you think embroidery is just meant for fabrics such as cotton and linen, think again! In past posts I have experimented with embroidery on denim HERE and HERE. I have also used embroidery on paper HERE. Today we will push those limits a little further and try stretched canvas! This is such a fun little project designed to inspire your creativity and pair some non traditional things together for this fun Halloween surprise.
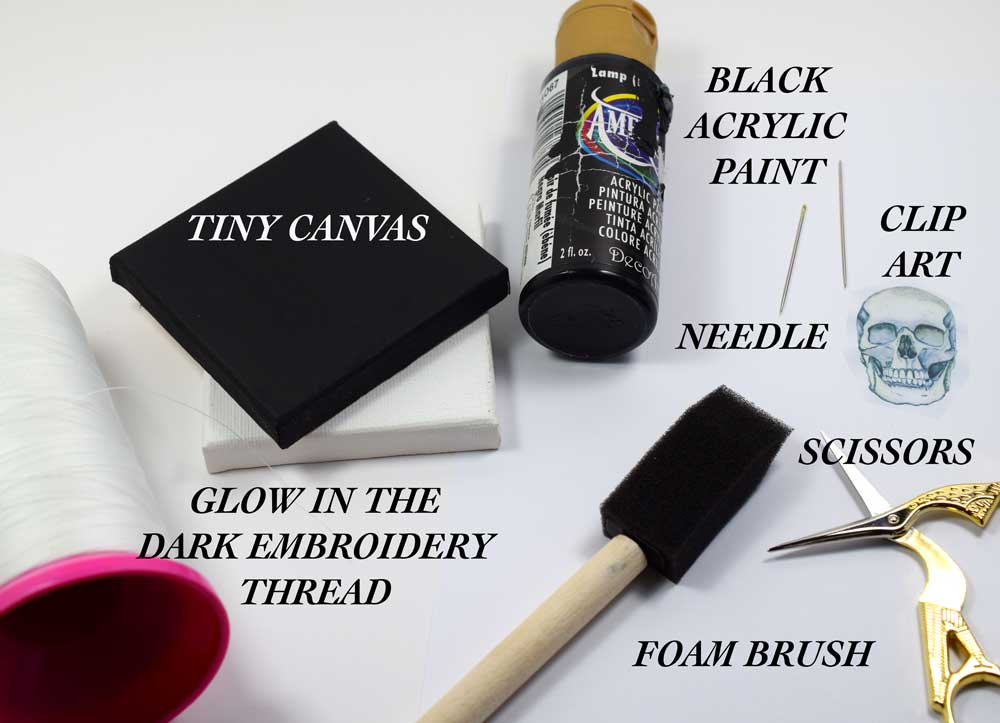
For this project, here are the supplies you will need:
MINI CANVASES: These can be found at your local craft store. HERE is an example of the ones I bought. The size is a 2 X 2 and you can also purchase mini easels to put them in.
BLACK ACRYLIC PAINT: You can find these in any craft store in a huge variety of color. There are a bunch of brands to choose from such as Folk Art, Apple Barrel, and Craft Smart to name a few.
SHARP EMBROIDERY NEEDLE: You will need a very sharp tipped embroidery needle that is thin. The sharp tip makes it easier to pierce the canvas. You want a smaller size so that it does not make a huge hole in the canvas. I used a size 5 crewel embroidery needle but I would recommend going even smaller. *Remember, the higher the size needle the smaller it is so I would recommend at least a 5 or higher.
CLIP ART: I used my Halloween Clip art which is available HERE but really there are endless supplies online to choose from with any theme you can think of.
EMBROIDERY SCISSORS: If you are getting into embroidery these are a great investment. They are in the 12-ish dollar range and you will use them A LOT.
FOAM PAINT BRUSH: This can be used to paint you canvas but also to apply mod podge.
MOD PODGE: This is used to affix your clip art to the canvas.
EMBROIDERY THREAD: I could not find this glow in the dark thread locally so I ordered it online. It is really glows beautifully but I think it is meant for machine sewing more than hand sewing. It is only one strand so next time I would love to try the DMC version which allows you to choose your thickness. THIS is an example of the one I ordered in case you are interested.
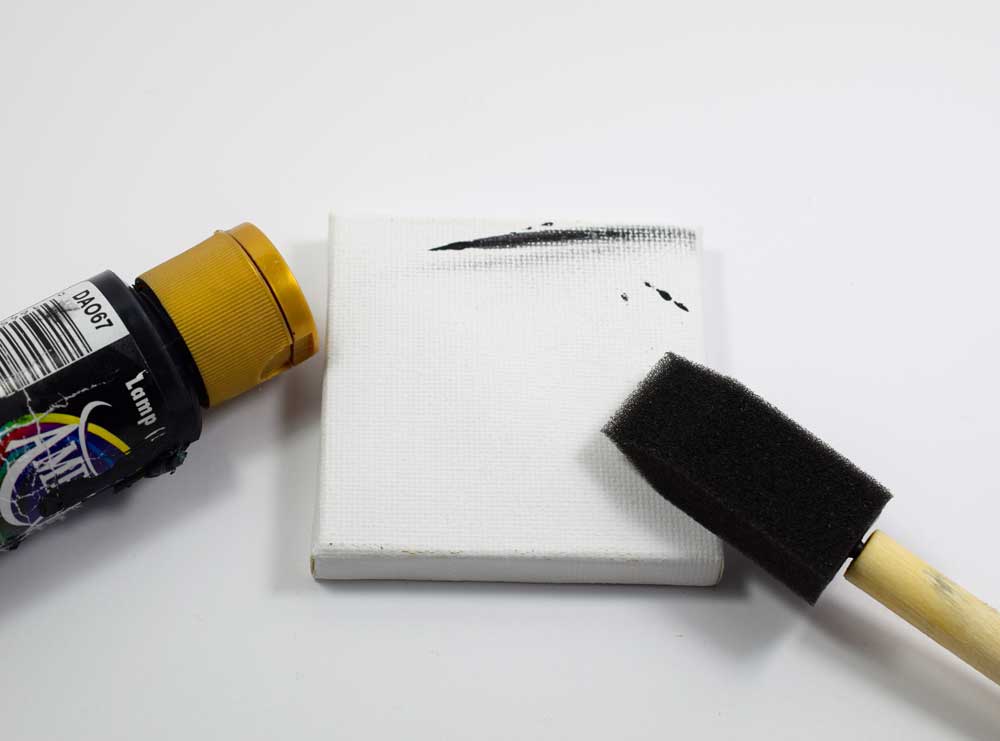
Start by painting your canvas black with the foam paint brush.
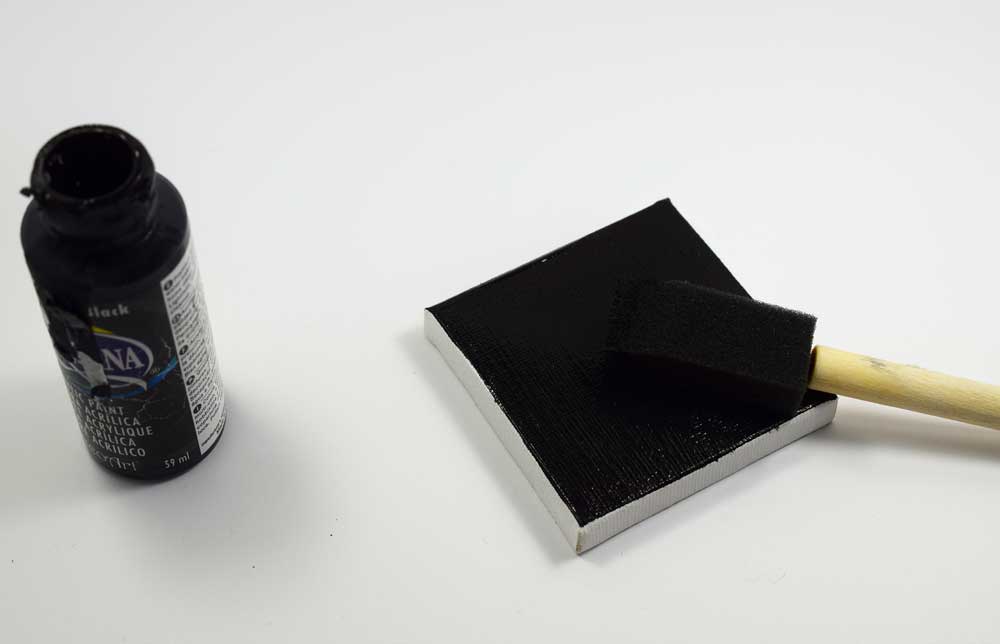
Add one layer, let it dry, then add another layer. Don't forget the sides. You can use your hairdryer to speed up the process.

Once your paint has fully dried, use the foam brush to apply a layer of mod podge to the surface of the canvas. (I forgot to mention that you wash the paint out of the foam brush and let it dry before using the mod podge). Apply the piece of clip art on top of the first layer of mod podge, centered on the frame.

Now apply a layer of mod podge on top of the entire surface including the clip art.

Use your nice sharp needle to pierce holes around your clip art. I made them around the eyes and face.
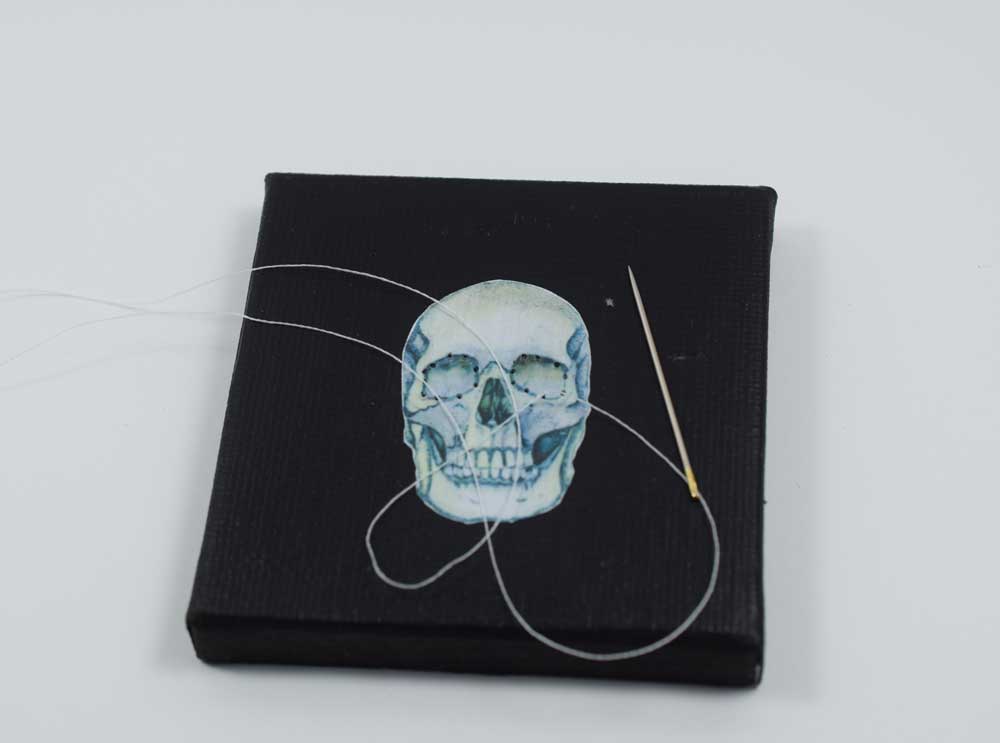
Thread your needle and make several knots at the end to keep your thread anchored in the back of the canvas. I made three knots on top of each other. Now starting your needle from the back of the canvas to the front, use the holes to make a backstitch. If you are unfamiliar with the backstitch and would like to learn click HERE.
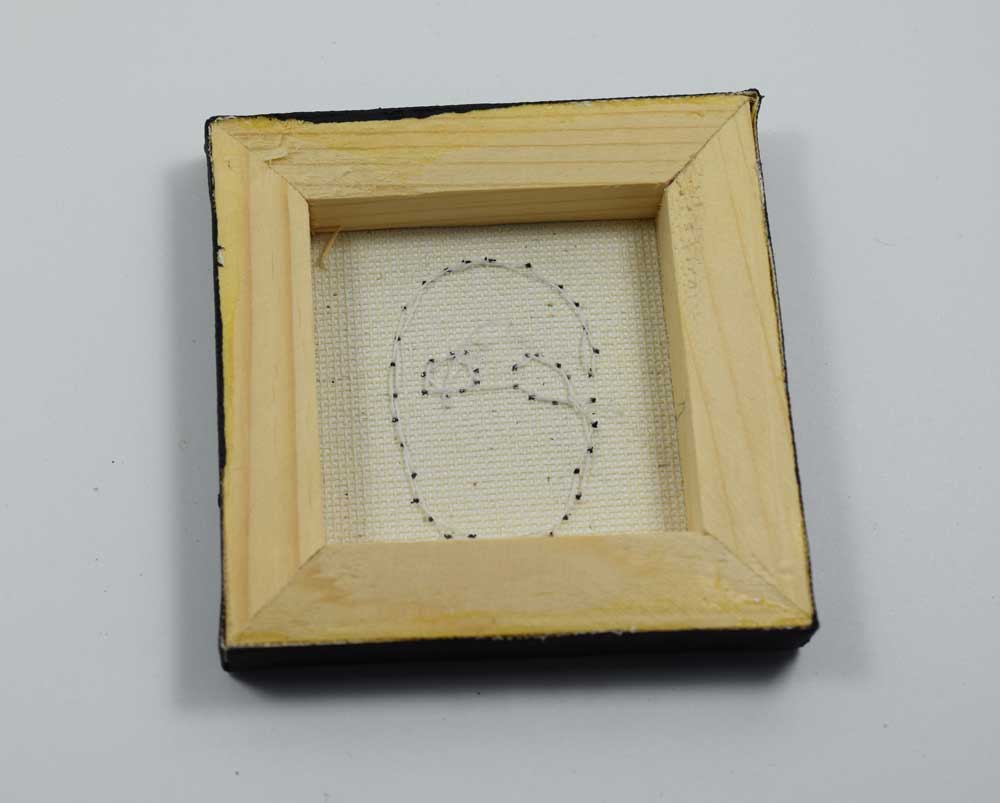
Your needle should finish in the back. When you are done, thread your needle under one of the stitches you already made and make a knot to secure it.

I added a lot more detail, like outliinge the nose, jaw, face, and then adding "BOO" using my glow in the dark thread.
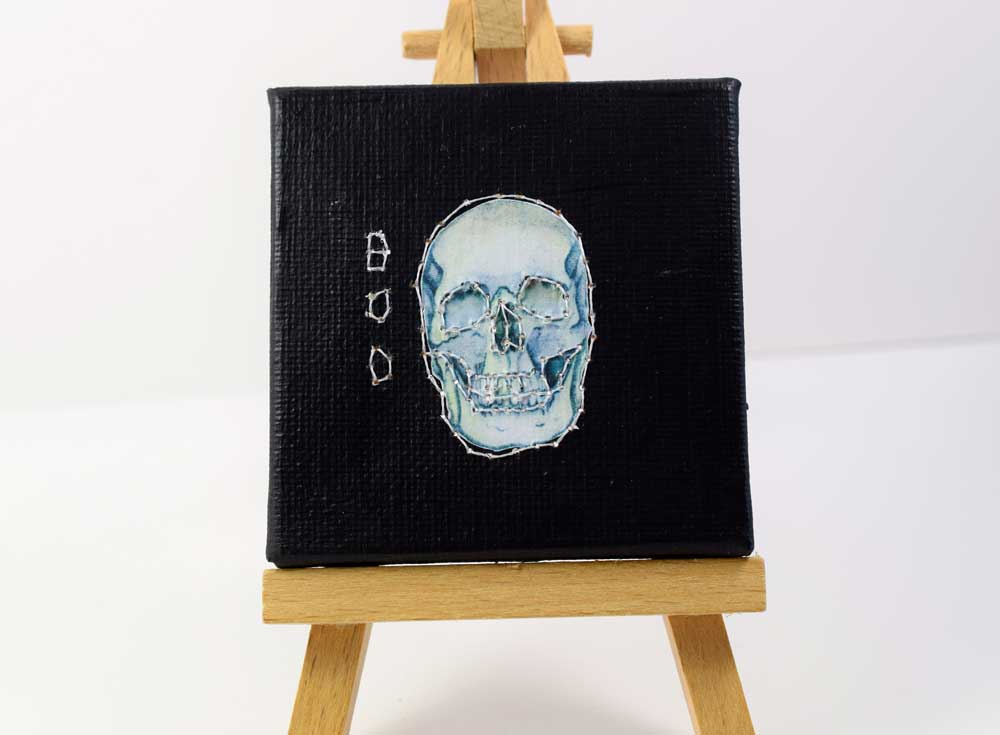
Look at it propped in it's tiny easel. Now turn off the lights and ............

BOO! Isn't that fun????
Well I hope this has gotten those wheels spinning. It's okay to break the rules and try new things! Some of the greatest things ever were invented by mistake......take chocolate chip cookies for instance! So break out of your "rules" and try something new. You just never know!
Happy almost Halloween!
Warmly,
Pam