Onesies are such a fun thing to embroider. This is a great opportunity to practice your embroidery skills on a stretchy knit material.

Gather up a few simple supplies:
A PLAIN WHITE ONESIE - I like to wash and dry mine using unscented detergent before getting started.
LIGHtWEIGHT INTERFACING - This is nice to add to the back of your embroidery so that the part that touches the baby's skin is nice and soft.
WATER SOLUBLE STABILIZER - This is necessary to keep the knit fabric from stretching while you are sewing on it.
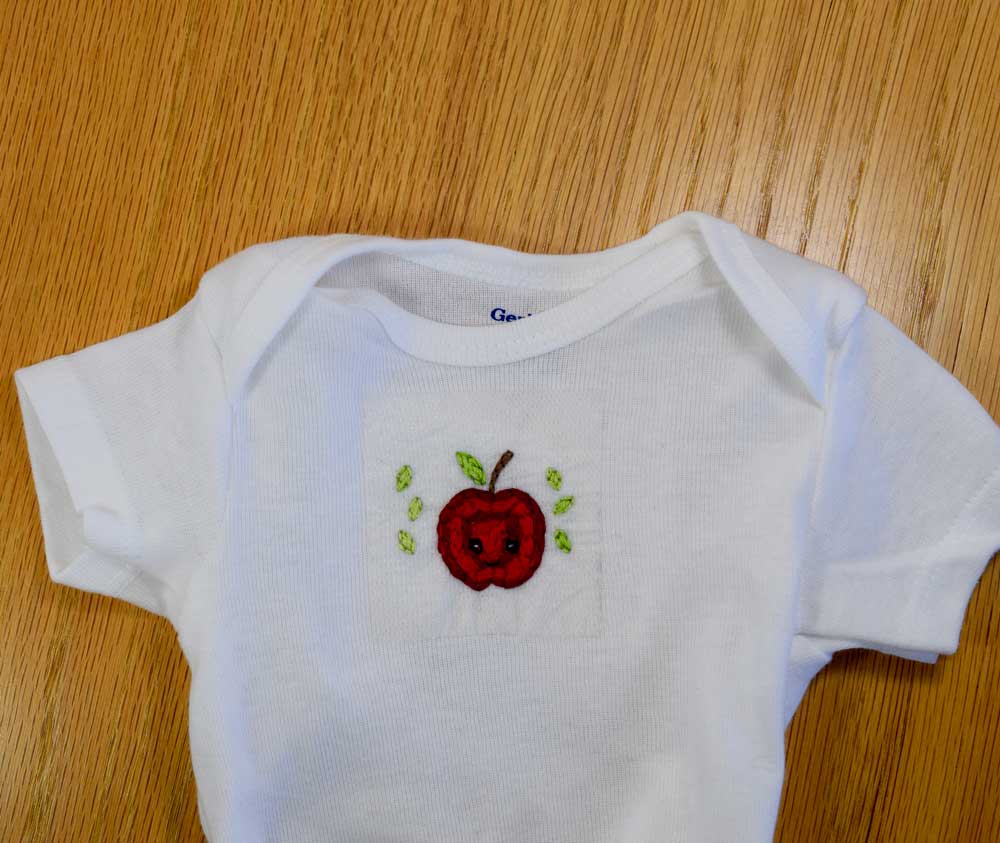
A SMALL SIMPLE EMBROIDERY DESIGN - I designed some very small simple Kawaii images I thought would look cute on a baby onesie. You could draw or trace a small design.
**HERE is a free printable that would also be cute from a design I made a few posts back. The small flower wreath would be really cute and the perfect size.
COTTON EMBROIDERY FLOSS - I like to use DMC cotton embroidery thread.
SCISSORS
EMBROIDERY NEEDLE - I generally use a size 5-10 embroidery needle.
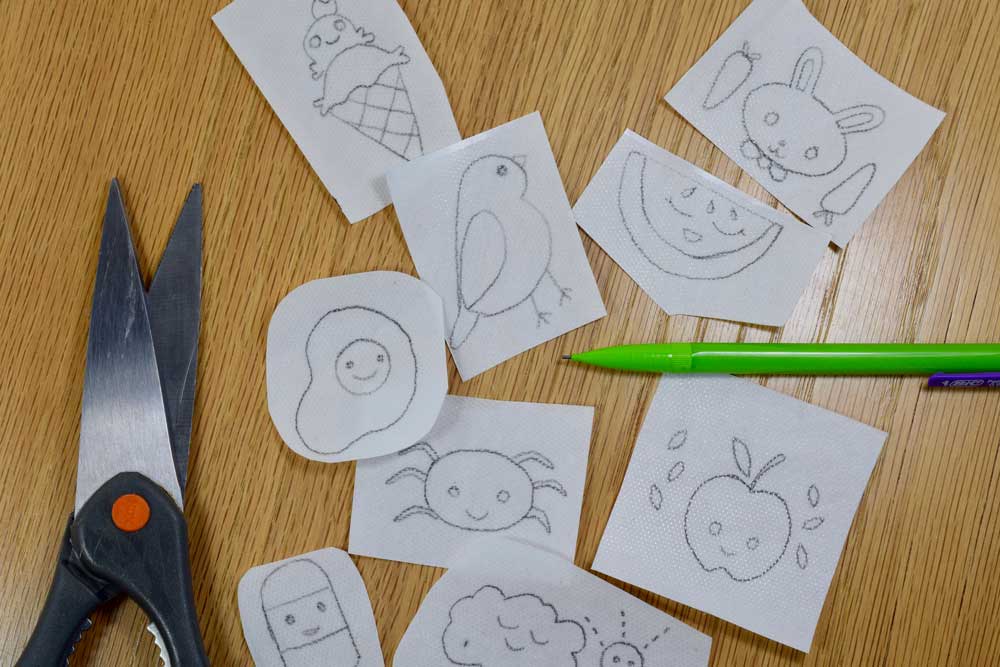
Start by tracing your designs onto the stabilizer. I made these simple kawaii designs. This stabilizer can be run through your printer but I traced the designs on instead. It has a paper backing that can be peeled away to reveal a sticky surface that can be adhered to your fabric.

I guesstimate the center of the shirt by folding it in half and using the seam as a guide to center my design.
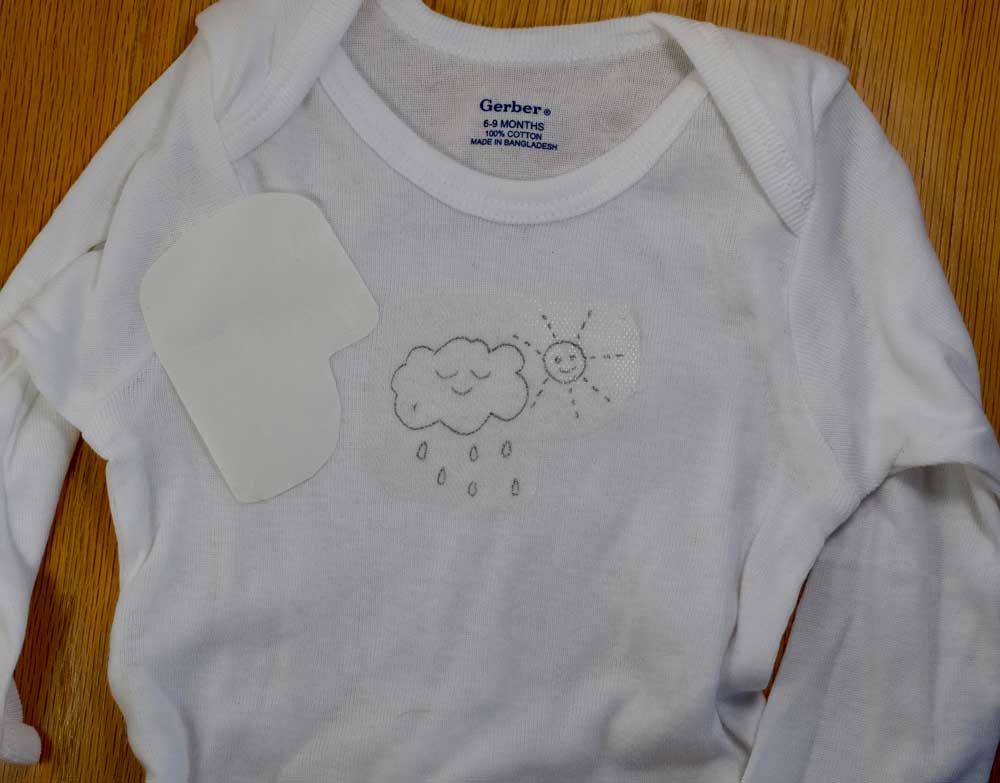
Peel the paper backing off the stabilizer and center your design on the shirt. The stabilizer will keep the knit fabric in place when you are sewing. The stabilizer washes off with water after sewing.

If you want to hoop your shirt, be sure to open the hoop wide so that it just lays on the fabric. The goal is not to stretch the fabric which would also stretch the embroidery.


When you have finished embroidering your design, rinse off the stabilizer in cold water.

Turn the onesie inside out and cut out a small piece of interfacing that is enough to cover the entire design. Trim any loose threads that are sticking out. The textured side of the piece of interfacing should face the fabric. Those little dots are glue dots which will adhere to the fabric when melted by the iron. Press the interfacing over the design.
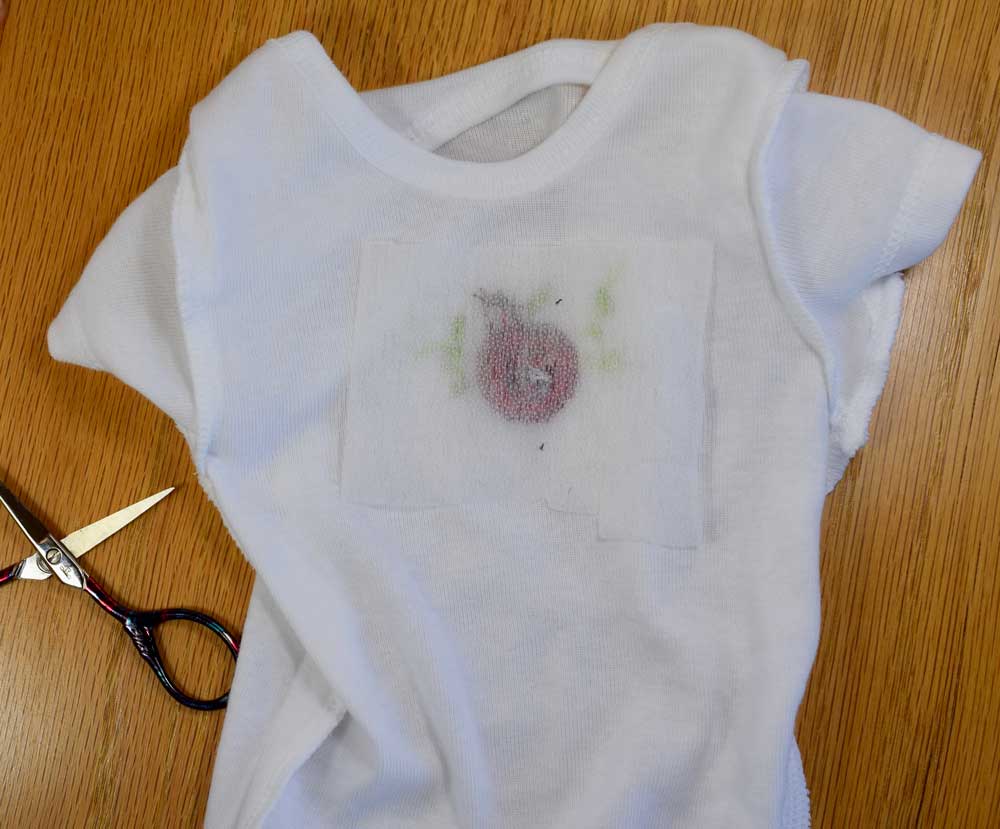
Lay the interfacing over the backside of the design.
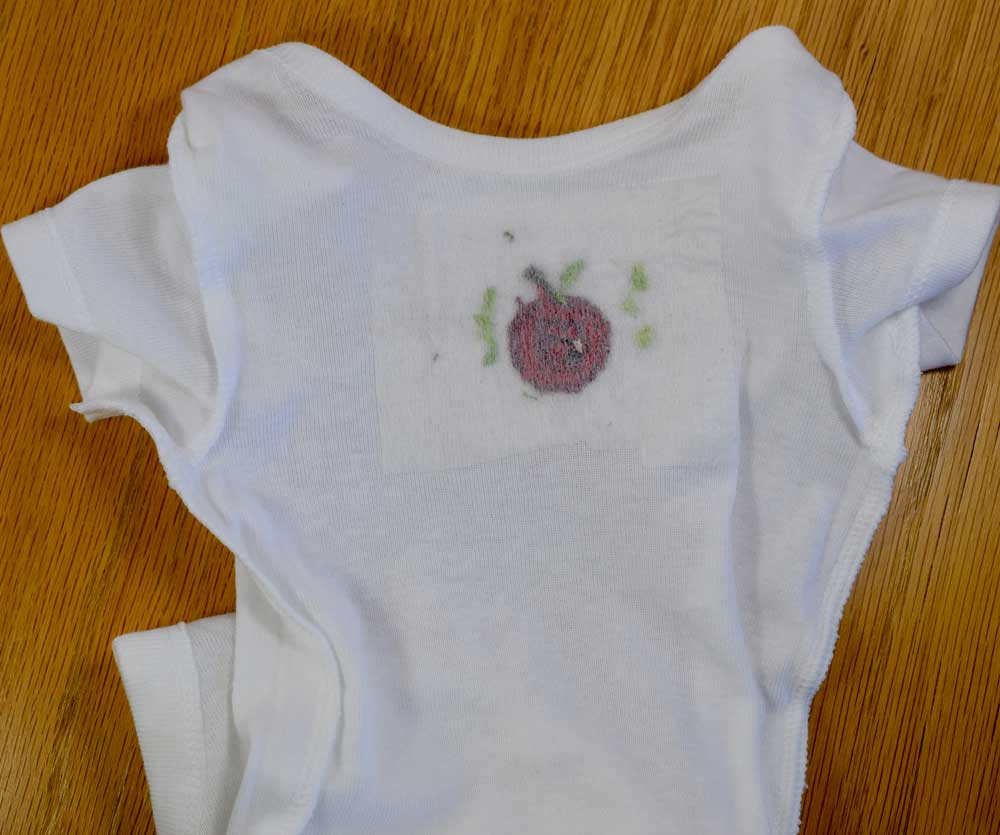
Press the textured side of the interfacing onto the wrong side of the design.

That's all there is to it! Make a whole bunch to keep as gifts and get some great stitching practice on a knit fabric!
Thanks so much for stopping by!
Pam